Output model elements in tabular form with Doc. Composer
Doc. Composer comes with a set of built-in element templates written in XML, and you can also create and edit your own templates. In this article we will show you how to create a template to list out all the use cases in your project, by modifying from one of the default bundled template.
Suppose the project we working on already have use case diagrams plus some use cases, to output all use cases in a single table with Doc. Composer:
- Select Tools > Doc > Composer.
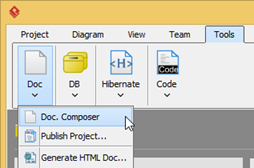
Create Doc. Composer
- Select Build Doc from Scratch when prompt for Create New Document Type.
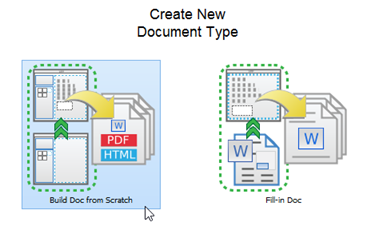
Build Doc. Composer from scratch
- We use the Use Case List template under use case diagram as the base. Select the use case diagram in Diagram Navigator.
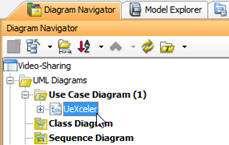
Select Use Case Diagram in Diagram Navigator
- Right click on the Use Case List template in Template List and select View.
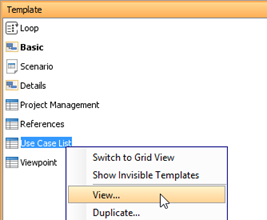
View the detail of Use Case List template
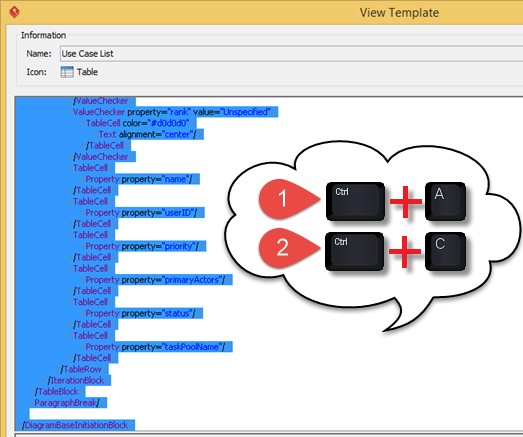
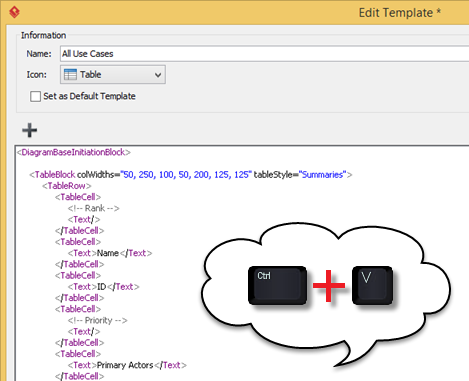
Select all content of the template by using Ctrl + A, then press Ctrl + C to copy it
- Click on the template content, then press Ctrl + A to select all content, and press Ctrl + C to copy it.
- Select the project root note.

Select project root node
- Right click on any one of the template, let say Activity Diagram, and select Duplicate.
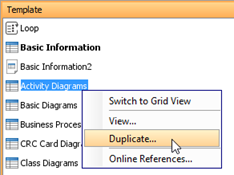
Duplicate a template
- Name the template as All Use Cases.
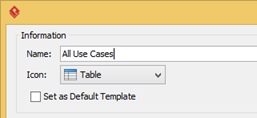
Name the template as All Use Cases
- Click on the template content, then press Ctrl + A to select all content, and press Delete key to remove them.
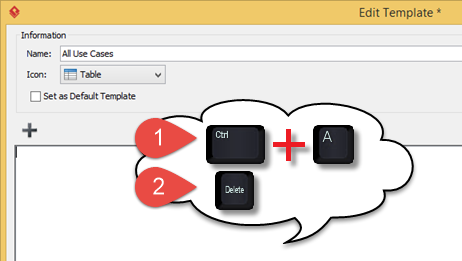
Remove the content in All Use Cases template
- Paste the content which copied from Use Case List template into the All Use Cases.
Paste the content from Use Case List template to All Use Cases template
- Now let’s start modify the template to make it fit for report all use cases in the project. First we change the <DiagramBaseInitiationBlock> at the beginning and the end of the template into <ProjectBaseInitiationBlock>.
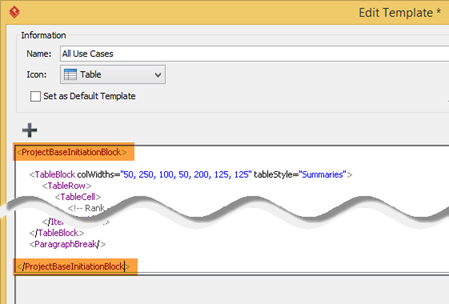
Change DiagramBaseInitiationBlock to ProjectBaseInitiationBlock
- Next we insert the condition into ProjectBaseInitiationBlock. We use the HasChildElementChecker to specify the block on work for use cases.
<HasChildElementChecker modelType=”UseCase” flag=”true”>
Remember you have close the checker node at the end of your template.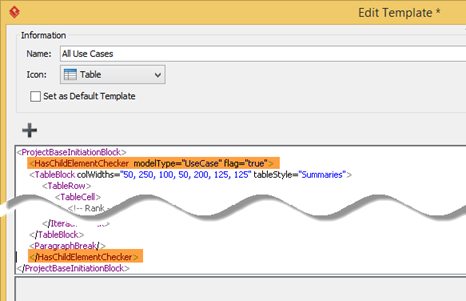
Add HasChildElementChecker to template
- Create a title section in the template so that it will indicate the model elements we reporting are the use cases.
<Text style=”@heading+”>Use Cases</Text>
<ParagraphBreak/>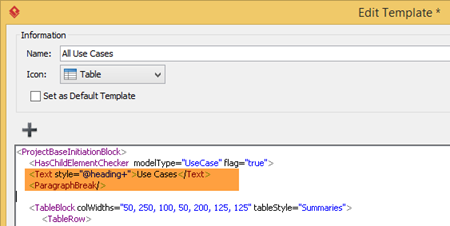
Define title for the use case list table
- Now the modification is done. Before exit template editor we press the Validate button to see is our modifications are correct. The message block in the template editor will show validation was success if there is no error was found.
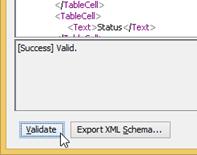
Validate the template
- Press OK to close the template editor.
Close Template Editor
- Drag out the All Use Cases template from the Template List, and drop it to the document.
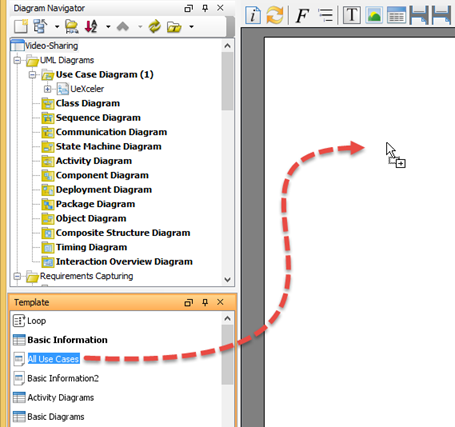
Drag the All Use Cases template into document
- Now you will have all the use cases in your project showing in a single table, no matter they are in which diagrams or under which package/Model.
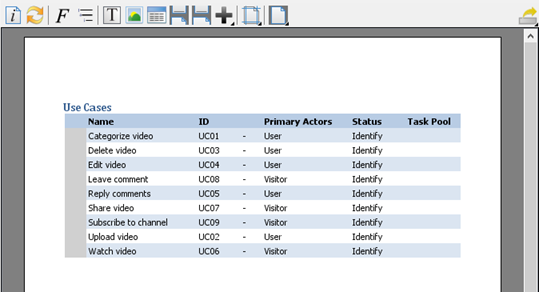
All use cases in the project are listed in a single table
Related Know-how |
Related Link |
Leave a Reply
Want to join the discussion?Feel free to contribute!