Unable to upgrade VP Server to version 13.0 (or newer)
Some users may experience problem that VP Server fail to run after upgrade to version 13.0, or server remain in its current version after upgrade. This problem is caused by the VP Server is still running with the old JRE1.6. For deliver better features some libraries used by VP Server was being upgraded. Unfortunately they are not compatible with the old JRE 1.6. For users experienced problem on upgrade server can take the following steps to upgrade your server to version 13.0:
- Login to your Customer Service Center.
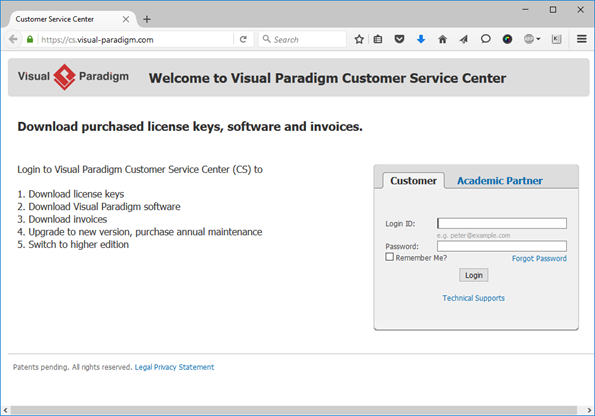
Login to your Customer Service Center account
- Go to Download tab and download the version 13.0 VP Server. You can select the platform you needed in the combo box.
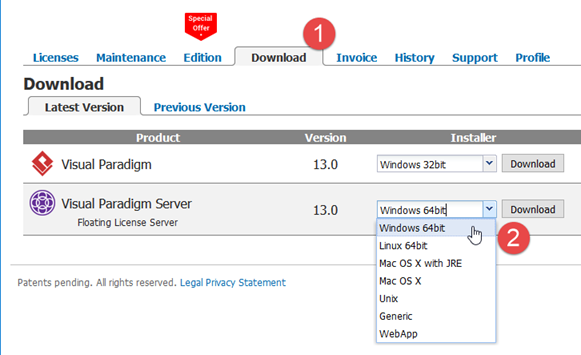
Download latest version of VP Server
- Unzip the downloaded VP Server package (new server) side by side to your existing VP Server (old server).
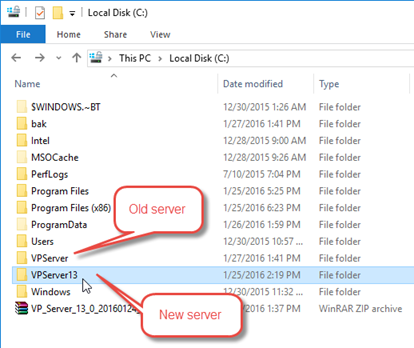
Unzip new server side-by-side to your old server
- Shutdown your existing VP Server (old server) by execute the shutdown script or from the system service.
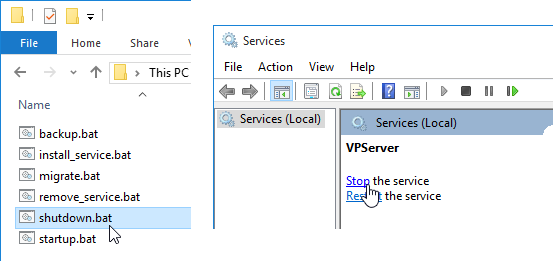
Shutdown the old server with script or from service setting
- Make a full back up to your old server.
- Open Command Prompt/terminal and change directory (i.e. use the “cd” command) to the scripts folder of your new server. Please note that you may need to run the command prompt as Administrator to perform the migration.
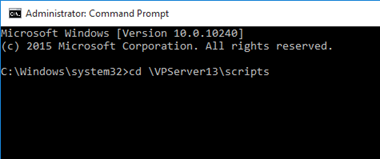
Change directory to scripts folder of new server
- Execute the migrate.bat from command prompt, with -path parameter point to your old server.
i.e. Assume your old server was setup on c:\VPServer, then the command will be migrate.bat –path c:\VPServer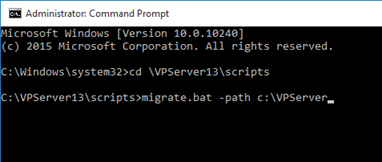
Execute the migrate command with old server in the path parameter
- Follow the instruction on command prompt to do the math to proceed.
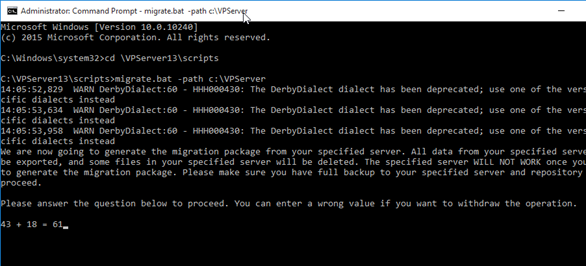
Do a math as confirmation to proceed the migration process
- Once the process completes, a zip file call vpserver.tar.gz is automatically created in the VPServerExport folder under %new server%/scripts. Move the VPServerExport to the WEB-INF folder of the new server.
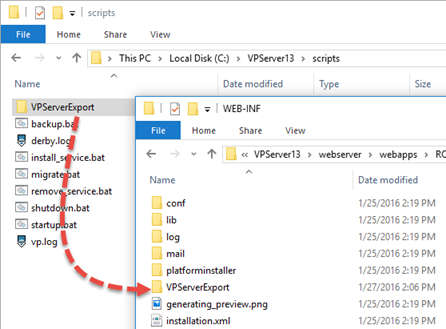
Move the migration package to WEB-INF folder of new server
- Startup the new server, and follow the setup wizard to complete the setup procedure.
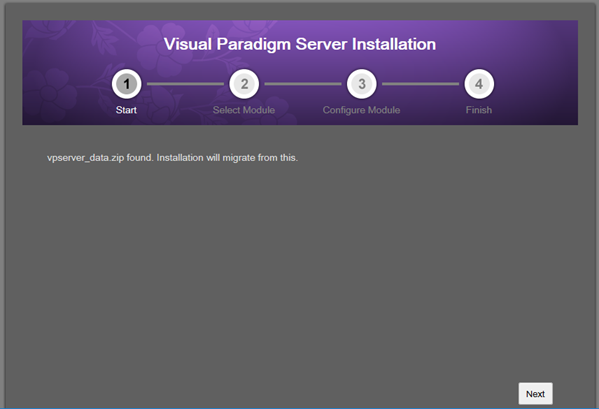
Follow setup wizard to complete the migration
Your server is upgraded to version 13.0 once the setup procedures complete. And you can now login to server as Admin user to import the upgrade license key(s).
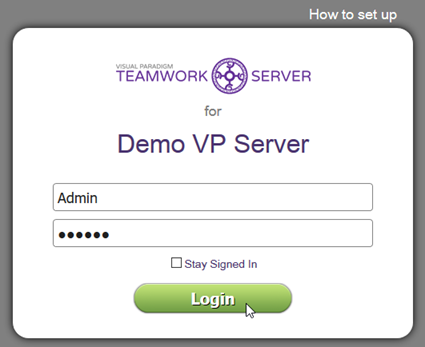
Login to server as Admin
For Teamwork Server
- Select Teamwork Module and you should be immediately prompted to import the upgrade license.

Open Tewmwork Module
- Just press the Upload key button and select the license key file which downloaded from your Customer Service Center account to update the license key.
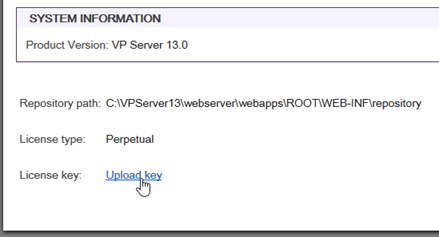
Upload new Teamwork Server license key
For Floating License Server
- Select Floating License Module.
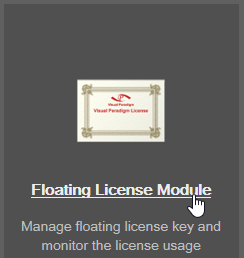
Open Floating License Module
- Press Import License.
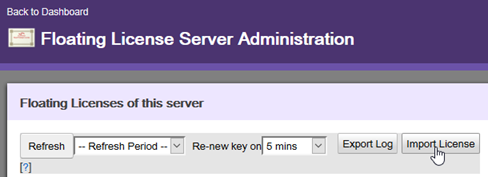
Select Import License
- Press the Browse button and select the floatinglicense.keys which downloaded from your Customer Service Center account, and press Upload File button to import the key.
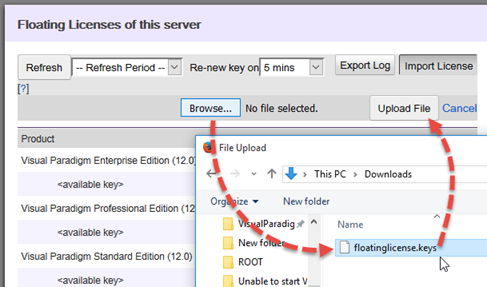
Uploading floatinglicense.keys to server
Related Know-how |
Related Link |
Leave a Reply
Want to join the discussion?Feel free to contribute!