How to Upgrade VP-UML/Logizian/Agilian (Floating License) with Teamwork Server to Visual Paradigm [Obsolete]
| This article is out-dated. Please refer to How to upgrade Visual Paradigm (with Floating License) and Teamwork Server to New Version for details about how to update your floating licensed Visual Paradigm and Teamwork Server to latest version. |
![]() Over the years, Visual Paradigm International Ltd. has delivered lifecycle visual modeling platforms in order to help our customers to build quality software applications faster, better and cheaper, including the three major product series: Visual Paradigm for UML (VP-UML), Logizian and Agilian. In version 11.1, we amalgamated them to become one single product and has renamed it into Visual Paradigm which is the same as our corporation. Thanks to the Visual Paradigm Software Maintenance, you can upgrade to Visual Paradigm without extra cost as long as your license is within the maintenance period. This article below will teach you how to upgrade your single seat VP-UML/Logizian/Agilian license with VPository to Visual Paradigm, the new product.
Over the years, Visual Paradigm International Ltd. has delivered lifecycle visual modeling platforms in order to help our customers to build quality software applications faster, better and cheaper, including the three major product series: Visual Paradigm for UML (VP-UML), Logizian and Agilian. In version 11.1, we amalgamated them to become one single product and has renamed it into Visual Paradigm which is the same as our corporation. Thanks to the Visual Paradigm Software Maintenance, you can upgrade to Visual Paradigm without extra cost as long as your license is within the maintenance period. This article below will teach you how to upgrade your single seat VP-UML/Logizian/Agilian license with VPository to Visual Paradigm, the new product.
Knowing which type of license you are using
If you are not sure whether you are running the single seat license, floating license or subscription license, you can follow the article Find out the Type of Visual Paradigm License You Are Using to find out which type of license you are using.
If you are using VP-UML/Agilian/Logizian with single seat license, then please follow the procedures at How to Upgrade VP-UML/Agilian/Logizian (Single Seat License) with Teamwork Server to Visual Paradigm to perform the upgrade.
For the server, if you are not sure whether you are using Teamwork Server, VPository or other version servers, you can follow the article Find out the Type of Version Server You Are Using to find out which type of server you are using.
If you are using VPository, then please follow the procedures at How to upgrade VP-UML/Logizian/Agilian (Floating License) with VPository to Visual Paradigm to perform the upgrade.
Before we start
The upgrade process involves 5 steps, they are:
- Ready the files you needed for the upgrade
- Backup the VP Server
- Upgrade VP Server to new version
- Upgrade VP-UML/Logizian/Agilian to Visual Paradigm
To avoid missing out any steps throughout the upgrade process, please download the following checklist and use it during your upgrade process.
Checklist for upgrade VP-UML/Logizian/Agilian in floating license and Teamwork Server (MS Word)
Checklist for upgrade VP-UML/Logizian/Agilian in floating license and Teamwork Server (PDF)
Now, let’s start the upgrade by downloading the files you need.
1. Ready the files you need
The following files have to be readied before upgrading your VP-UML/Logizian/Agilian and Teamwork Server. They are:
- The Teamwork Server license key for the new version
- The floating license key for the new version
- The WebApp package of the new version VP Server
Download the new Teamwork Server and floating license key file
You can login to your Customer Service Center account to download the new Teamwork Server and floating license key file. Once you have logged in to your Customer Service Center account, you can select both Teamwork Server and floating license of VP-UML/Logizian/Agilian and press the Download button to download it.
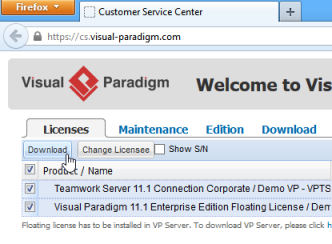
Download new VP-UML floating license key and the new Teamwork Server license key.
The license keys will be packed as a zip. Please extract the keys form the zip to get ready for the upgrade.
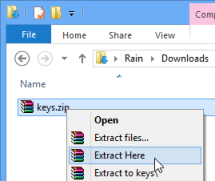
Extract the license key from zip.
Download the WebApp package of the new version VP Server
Now, switch to the Download tab in your Customer Service Center account. Select WebApp in the Installer combo box of Visual Paradigm Server and press the Download button to download it.
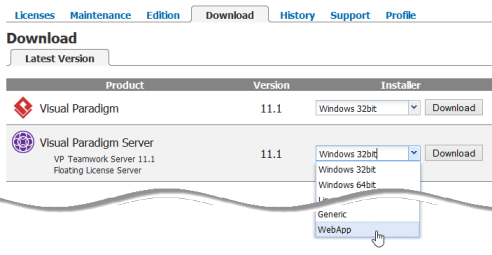
Download WebApp package of the new VP Server
Next, we have to backup the server.
2. Backup your existing server
To protect you from losing your valuable works, it is recommended to backup the server from time-to-time. Doing backup before upgrade is significantly important since it can create a clean snapshot of your projects as all users had committed their works. This is very helpful in case you need to rollback the environment after the upgrade. To backup your server:
- First, we have to login to the server as administrator. Open the browser and go to your VP Server.
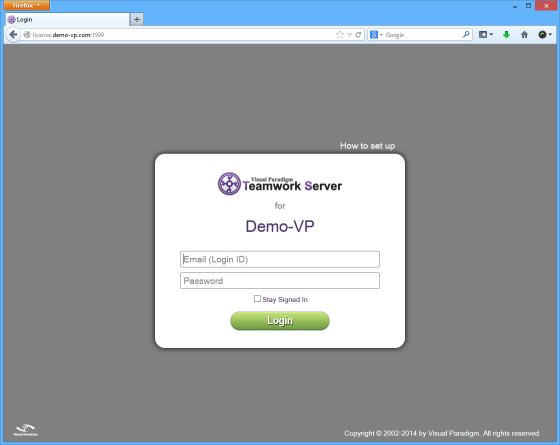
Access to VP Server via browser
- Login to the server as the administrator with login name “Admin“.
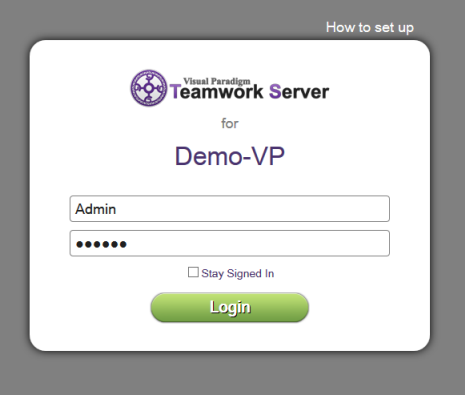
Login to server as administrator
- Once you have logged in, select Teamwork Module.
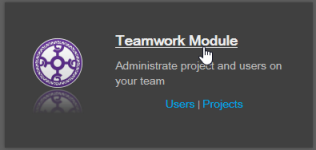
Select Teamwork Module
- Go to the System.
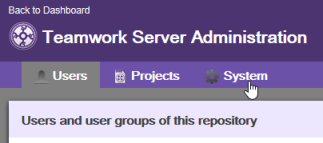
Go to System tab of Teamwork Server Module.
- Check the Repository Path of your server. If you have configured the repository outside the VP Server installation directory, then please copy the path into a text file. (we need to access for this folder in the later step).
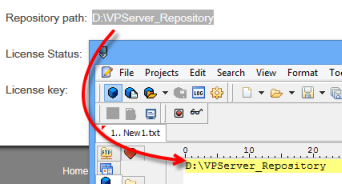
Copy the repository path if your repository is configured outside VP Server installation directory/
- Press on the Committing and Updating button to see whether there are any active commit and update action between your users and server.
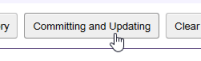
Check is there any active committing or updating activities on the server.
- You are safe to shutdown the server when no user is doing commit or update on it.
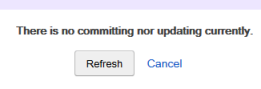
No user is committing or updating on the server.
- Now, we go to shutdown the server. If you have installed the server as Windows system service, you can go to Control Panel > Administrative Tools > Service, then locate the VPServer service to stop it. Note that you may need administrator permission on your Window in order to access to the Windows system service.
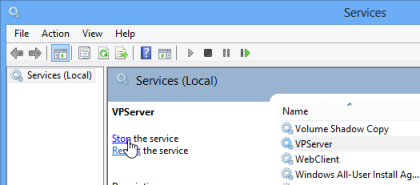
Stop Windows system service.
Alternatively, you can execute the shutdown script inside the scripts folder of the server to shut it down.
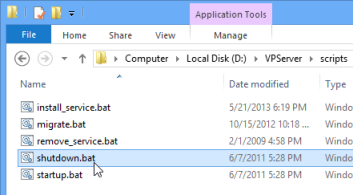
Shutdown server by script.
- Now, make a copy of the entire VP Server and the repository folder. By default, the repository folder is configured inside the VP Server folder. So, by copying the VP Server folder, you have already included making backup to the repository. But if you have configured to run the repository in other locations, then please also make a copy of it. You can reference to the repository path recorded in step 6 to locate your repository folder.
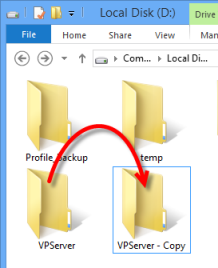
Backup the server by copying the VP Server installation directory.
- Finally, we have to backup the server database. If you are running the embedded database on VP Server, then backup the VP Server folder you did in previous step which has already included backing up of the database. But if your VP Server is running with external database (i.e. MySQL, SQL Server, Oracle and PostgreSQL), then please make a backup for the database used by VP Server. You can reference to your database server’s documentation on how to backup your server database.
Now, we are ready to proceed to upgrade the server.
3. Upgrade your VP Server
Upgrade the VP server is extremely easy and can be done in just a few clicks.
- Startup the server again. If your server is installed as system service, you can then launch it by locating the VP Server service under Control Panel > Administrative Tools > Service. Again, you may need to have administrator permission to access for the Windows system service.
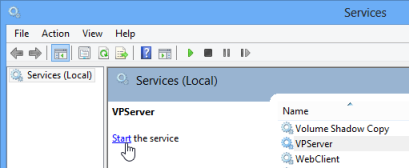
Start VP Server service.
Alternatively, you can run the startup script inside the scripts folder of VP Server to launch it.
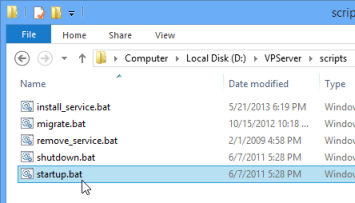
Startup VP Server by using script.
- Login to the server as administrator again.
- Once you have logged in, select the Update System from the top-right hand corner of the admin portal.
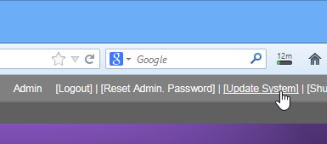
Update the server
- Click the Browse button to locate the WebApp package you have downloaded previously.
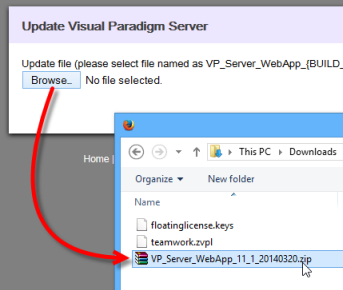
Upload WebApp package to upgrade the server
- Upon the upload is done, the server will list out the version and build number of your current running server as well as the version and the build number you are going to update. The server will be out of service for around 10 – 15 seconds by pressing Yes button to proceed to the upgrade.
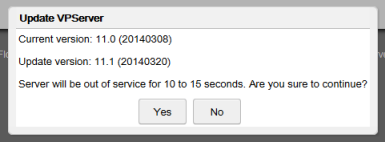
The build number of the current running server and the target build which going to upgrade to
- Once the upgrade is done, the server will show up its new version and build number. Click Continue to go back to the login page.
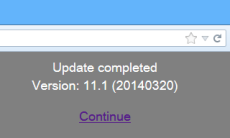
Server is upgraded to latest version
- Login to server as administrator again.
- Select the Teamwork Module and you will be prompted you don’t have license for the new version. Click OK to close the dialog.
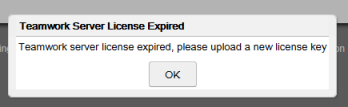
No license key available for the new version server.
- To import the new Teamwork Server license key, click on the Upload key.
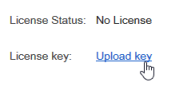
Select Upload Key.
- Press the Browse button to open the file chooser and locate new version Teamwork Server license key which you have downloaded previously and press the Upload button to proceed.
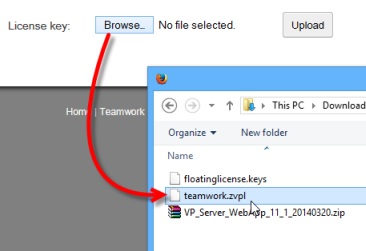
Select the new version Teamwork Server license key downloaded previously.
- Once the key is uploaded, the License Status of the Teamwork Server will be updated.

License status being updated on server.
- Go Back to Dashboard.
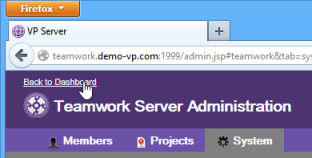
Back to Dashboard.
- Click the Configure under Floating License Module.
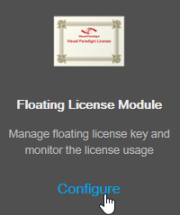
Configure license server
- You will see it is still with your existing floating license key. Press the Import License button and then press the Browse button to locate the new floating license key you have downloaded.
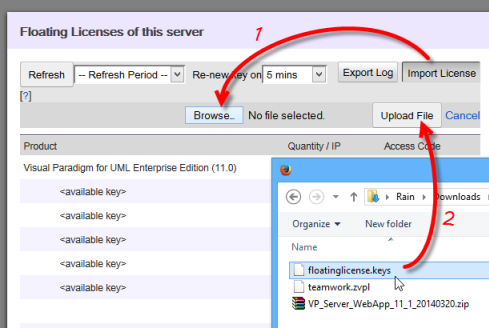
Import new floating license key
- Press the Upload File button to proceed.
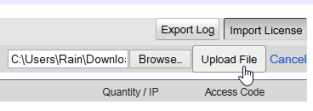
Upload the license key to server
- After that, you will see the license on server is being upgraded.
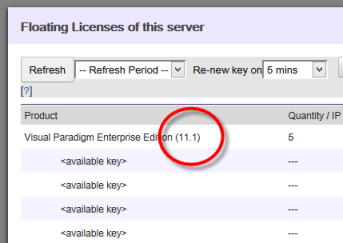
New version license is ready on your server
Now, your server is ready and we can move on to upgrade the VP-UML/Logizian/Agilian.
4. Upgrade your VP-UML/Logizian/Agilian
Upgrade VP-UML/Logizian/Agilian to Visual Paradigm is pretty simple, you can simply run the update program (Update VP-UML/Update Logizian/Update Agilian) to get it done.
- The update program can be launched from your Start menu (MS Windows) or from the bin folder of the installation directory (all platforms).

Launch Update Program
Note that the upgrade process requires write permission to the installation directory. For Windows users, it is recommended to run the update program as administrator in order to obtain the required permission.
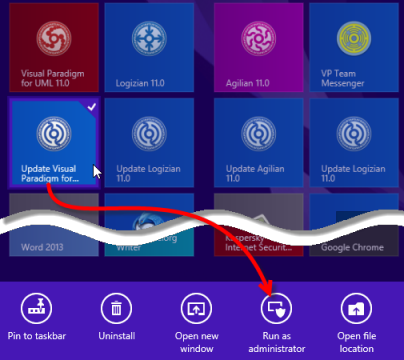
Run Update Program as administrator
- After launching the update program, select Visual Paradigm update server as the update source, then press Check Update to proceed.
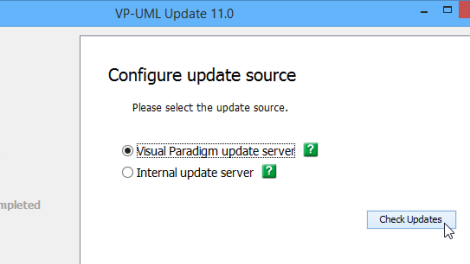
Select Visual Paradigm update server as update source
- The update program will first be upgraded and restart itself, then the build number of the latest release will be shown. You can press the Perform upgrade button again to continue.
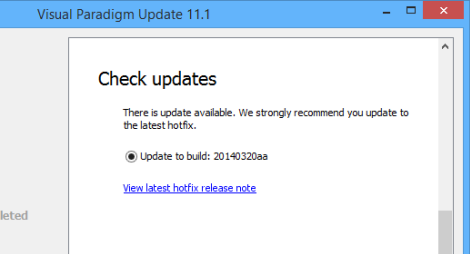
Build number of the new version.
- A special message dialog will be shown to explain the product amalgamation. Press OK button to proceed.
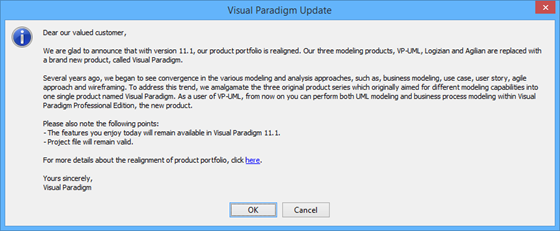
Special message dialog explaining product amalgamation.
- After that, the update program will download the upgrade from Internet to upgrade the software. Once the upgrade is finished, your software will be readied to use in new version.
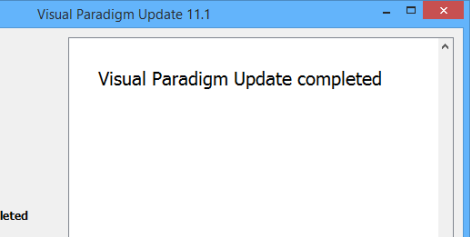
Update finished.
Common Problems
Cannot find where to login to server as administrator
This is probably caused by you are using the older version of VP Server. For the older server please click on the Manage (or Administrator for VP Server prior to version 10.1) at the top-right hand corner.
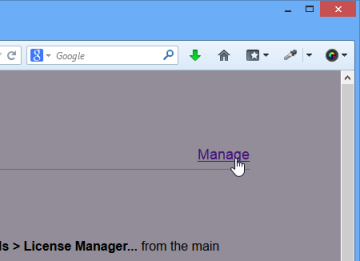
Manage server
After that, you will be able to access to the Login page.
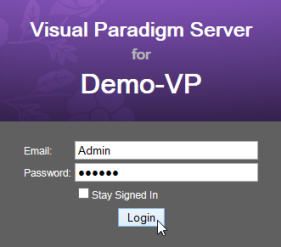
Login to server as administrator
Update program says it cannot be connected to the updated server
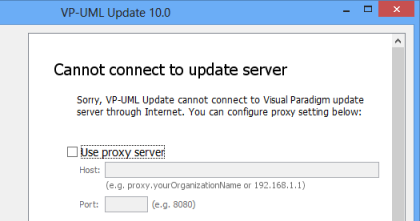
Unable to connect to update server.
This is probably caused by a bad Internet connection or your system needs proxy server to access for Internet. If you need to use proxy server for internet access, you can then check the Use proxy server check box and fill in the proxy host and port as well as your login information (if needed).

Configure proxy server for VP-UML Update.
You can also press the Proxy Setting button at the bottom-left corner of update program to configure the proxy server before proceeding to upgrade.
Update program didn’t show that new version is available
For users who are using Visual Paradigm’s software prior to version 10.2 may need to run the update program twice in order to do the complete upgrade. While the first run is to update the software to the latest build on the current running version, the second run is to upgrade to the latest version
Leave a Reply
Want to join the discussion?Feel free to contribute!