

Perform Conditional Formatting
It is very often that you would like to emphases particular details in the document which is generated from your model. Thanks to the fully customizable templates in Doc. Composer, you can achieve this by perform conditional formatting based on particular information in your model. In this article we will show you how to define conditional formatting in Doc. Composer templates.
Sample Code
<?xml version="1.0" encoding="UTF-8"?>
<ProjectBaseInitiationBlock>

  <Text style="@heading+">Use Cases</Text>
  <ParagraphBreak/>

  <TableBlock>
    <TableRow>
      <TableCell><Text>ID</Text></TableCell>
      <TableCell><Text>Name</Text></TableCell>
    </TableRow>
    <IterationBlock modelType="UseCase">
      <Sortings>
        <Sorting by="property" property="userID"/>
      </Sortings>
      <TableRow>
        <TableCell>
          <ValueChecker property="rank" value="High">
            <Property property="userID" foreColor="#FF0000"/>
          </ValueChecker>
          <ValueChecker property="rank" value="Medium">
            <Property property="userID" foreColor="#4b3624"/>
          </ValueChecker>
          <ValueChecker property="rank" value="Low">
            <Property property="userID" foreColor="#006a4e"/>
          </ValueChecker>
        </TableCell>
        <TableCell><Property property="name"/></TableCell>
      </TableRow>
    </IterationBlock>
  </TableBlock>

</ProjectBaseInitiationBlock>
How to use the sample code?
We have prepared a sample project to show you how the sample code works. Please follow the steps below to create a template with the sample code. An explanation of code will be given in the next section.
- Download the use_cases.zip. Extract it to obtain the vpp project file. Open it with Visual Paradigm.
- Open Doc. Composer by select Tools > Composer from the application toolbar.
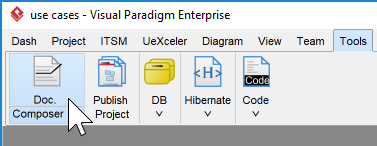
Open Doc. Composer from Toolbar
- Select Build Doc. from Scratch.
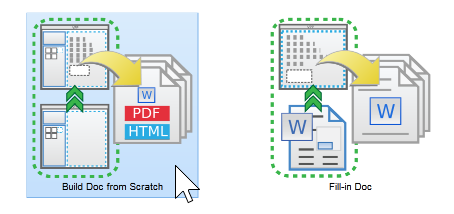
Choosing ‘Build Doc from Scratch’
- Open Model Explorer and select project root node.
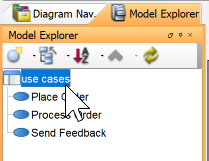
Select project root node in Model Explorer
- Right click on any template listed in the Template pane and select Duplicate… from popup menu.
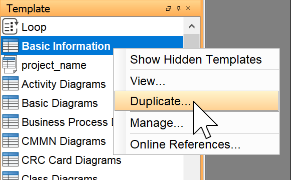
Duplicate a template
- In the Edit Template window, enter All Use Cases (Rank) as the name of template.

Enter the name of the template
- Replace the template code with the sample code provided in the previous section.
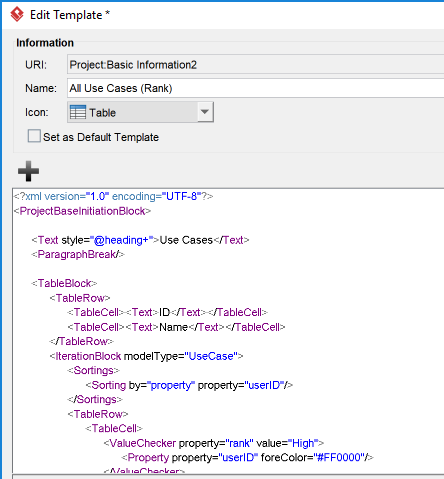
Template code entered
- Click OK.
- Now, select project root node in Model Explorer, and then drag out the All Use Cases (Rank) from the Template pane onto document. A table with all use cases will be showing and with their ID showing in different colors.

Drag template to document
Explanation of sample code
The sample code walk through the use cases in project and put its ID and name into table. The color of the use case ID will be changed according to the value of their Rank property. Use case with rank specified to High will have its ID in red, Medium rank will be in brown, and Low rank in green.To apply different format according the rank value the ValueChecker will be use. In the TableCell for showing the use case ID we encapsulate the Property node with the ValueChecker. In ValueChecker we specify the property and value which will be evaluate.
  <TableCell>
    <ValueChecker property="rank" value="High">
      <Property property="userID" foreColor="#FF0000"/>
    </ValueChecker>
    <ValueChecker property="rank" value="Medium">
      <Property property="userID" foreColor="#4b3624"/>
    </ValueChecker>
    <ValueChecker property="rank" value="Low">
      <Property property="userID" foreColor="#006a4e"/>
    </ValueChecker>
  </TableCell>
When criteria meat then the code inside the ValueChecker will being executed. For each criteria we specify different font color to the property node using foreColor attribute. This allow the ID of use case print with different color according to the check criteria, which is the rank.
Related Know-how |
Related Link |