

Setup Team Collaboration Environment using VP Online
For Visual Paradigm Desktop user they can sign up VP Online and use it as their team collaboration repository. As long as your repository do not exceed 1GB size then this service will be free of charge. This article provide step-by-step instruction to VP Desktop user about how to sign-up their VP Online workspace and perform team collaboration on it.
Signup VP Online as your team collaboration repository
- Start-up Visual Paradigm Desktop application and go to Team > Select Repository.
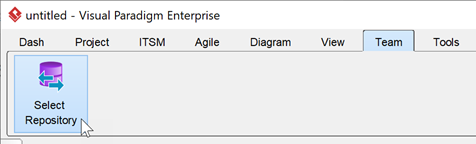
Select Repository
- Select Sign up VP Online.
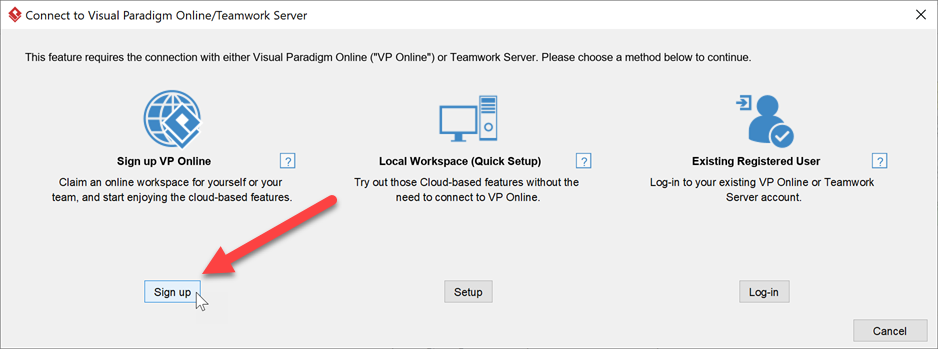
Sign up VP Online
- Enter your email address (which will become your login ID) and define your password. The Workspace ID will automatically generate for you based on your email address and you can modify it if you want.
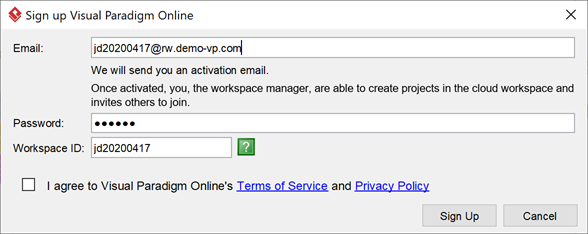
Specify the email address, password and workspace ID
- Read both the terms of service and privacy policy carefully. If you accept, check I agree to Visual Paradigm Online’s Teams of Service and Privacy Policy.
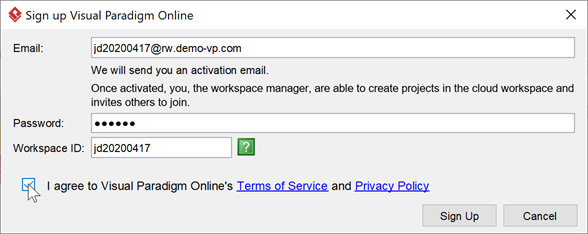
Accept terms of service and privacy policy
- A confirmation email is sent to you and it should arrive within 10 minutes. If you haven’t received the email after a good while, please check the junk folder of your email client. Click on the confirmation link in the email to activate your workspace.
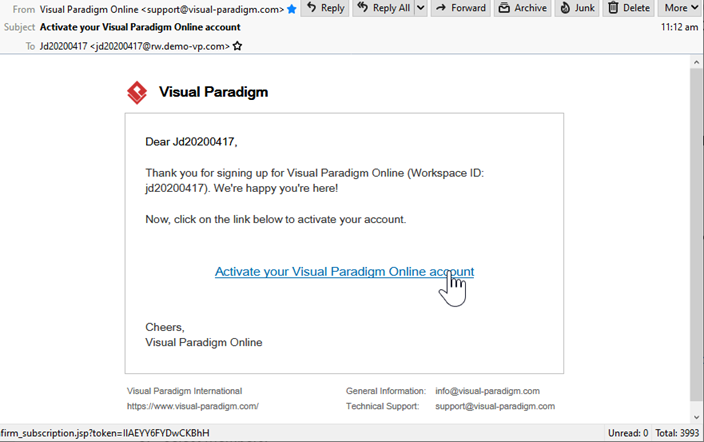
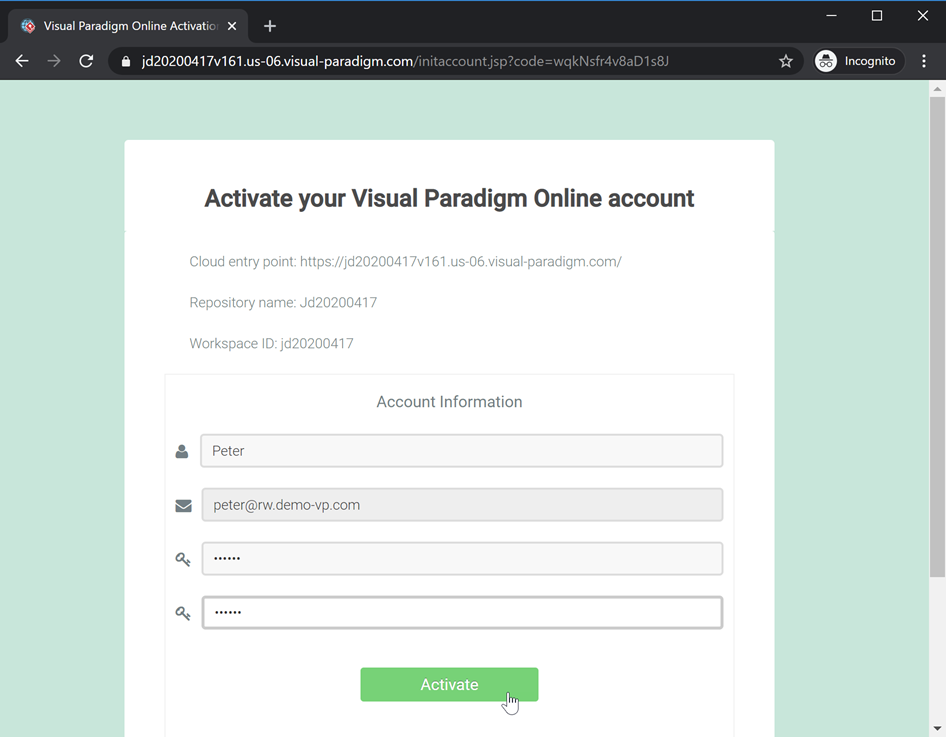
Click the link in confirmation email to activate the workspace
- A web page is opened, telling you that your account is activated.
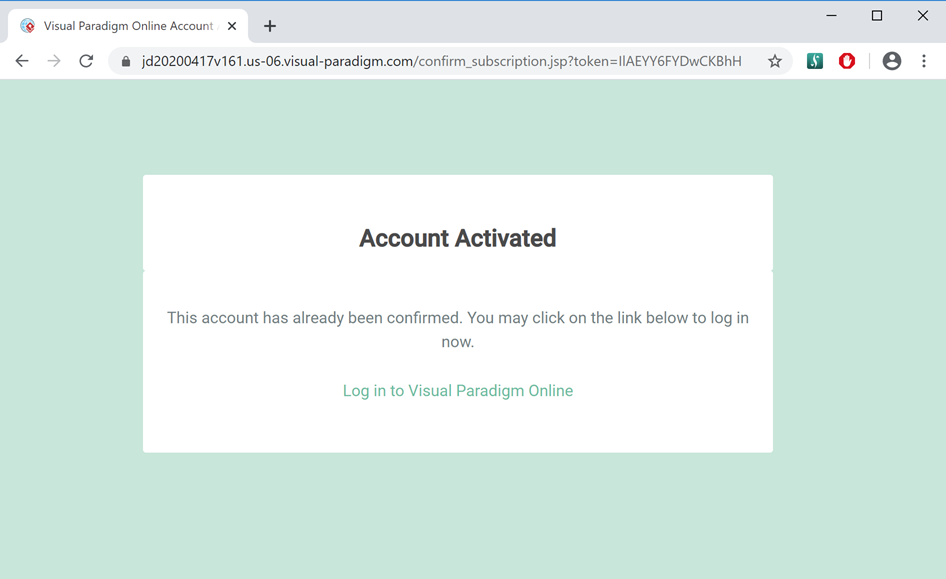
VP Online workspace being activated
Invite members to join your workspace
- Login to your VP Online workspace using web browser. Either visit https://online.visual-paradigm.com or clicking the link in the activation page.
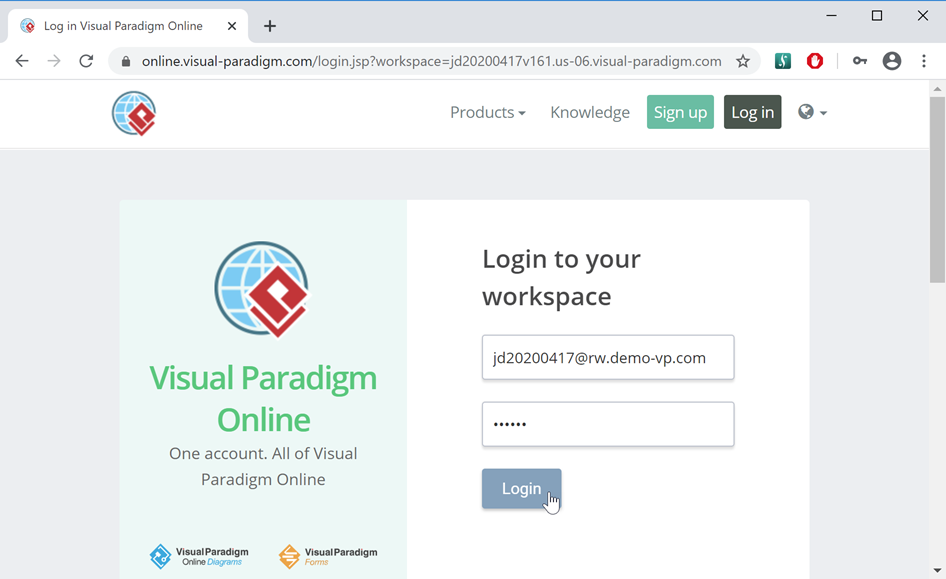
Login to VP Online workspace
- Once you logged in, click on your name at the top right corner of the page and select Administration from popup menu.
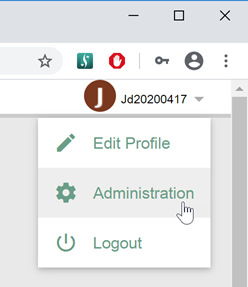
Administrate your workspace
- Select Members.
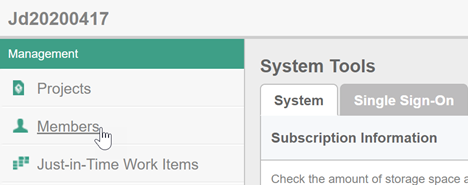
Select Members tab
- Press Invite Member button.
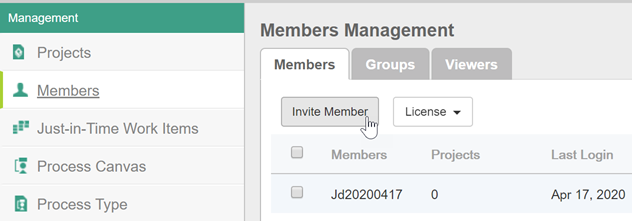
Invite member
- Enter the name & email address of the member you would like to invite. You can invite multiple members at once. After that press Send Invitation button to send out the invitation.
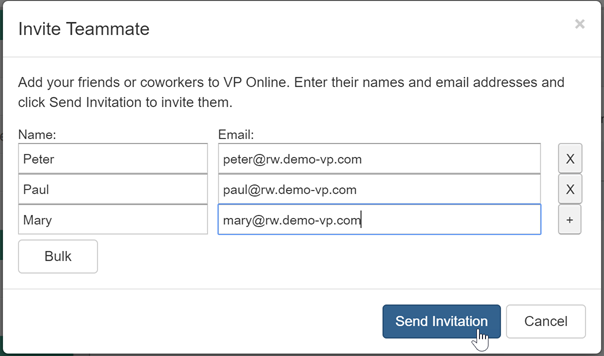
Send member invitation
Activate member account
- For the invited members they will receive an invitation email from VP Online. Click the link in email to open activation page in browser.
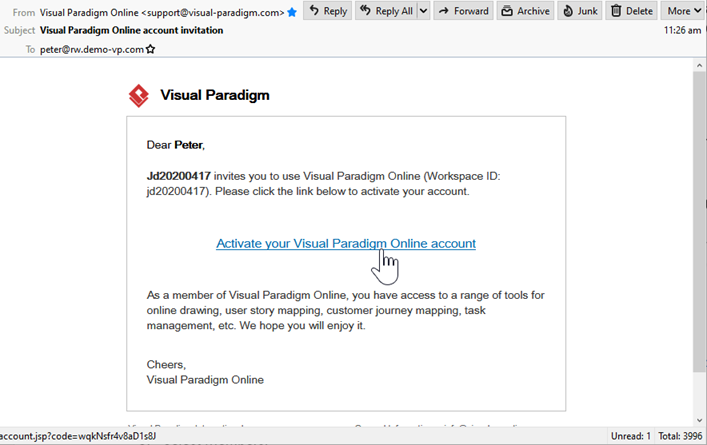
Accept invitation
- If user is new to VP Online then they will be prompted to specify their password. Otherwise it will simply accept the activation without further action required.
New joiners will require to specify his password during activation
Create project for team collaboration
- Keep login to Administration portal.
- Select Projects.
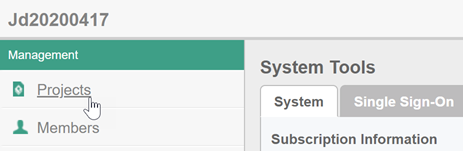
Select Projects tab
- Click on New Project button.
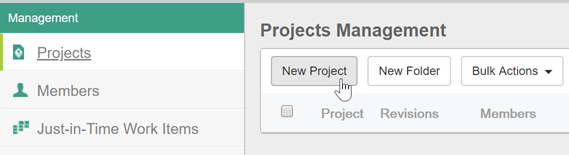
Create New Project
- Specify the project name, target folder, and press on + next to members or member groups to assign them to the project. After that click on Create Project button to create project into your workspace.
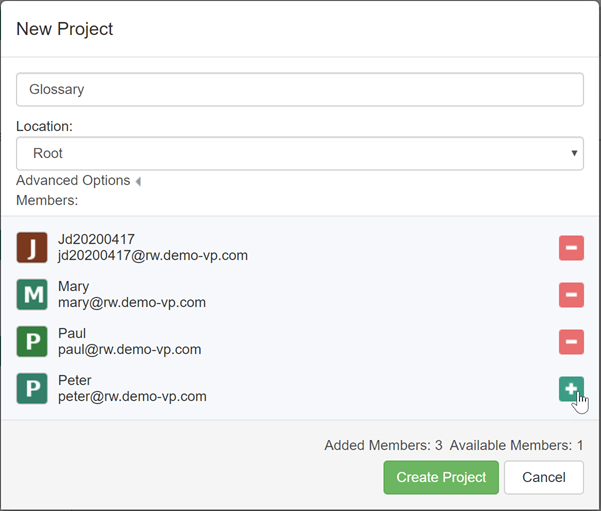
Specify project details and create the project
Perform team collaboration
- Go to Team > Select Repository in VP Desktop client.
- Select Existing Registered User and press Log-in.
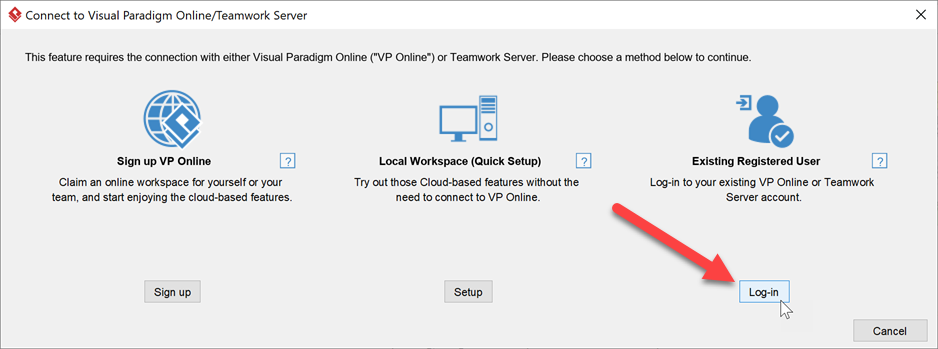
Login as existing registered user
- Enter the ID of your workspace. The workspace ID can be found in your invitation email.
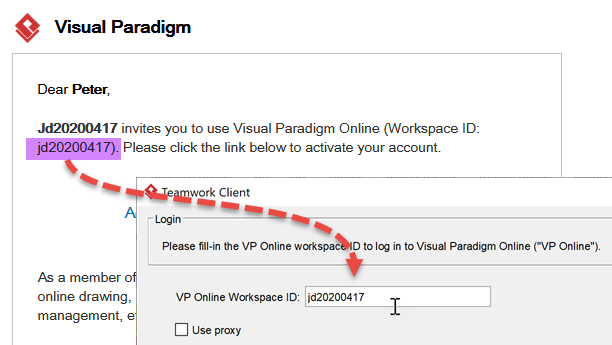
Enter workspace ID
- Enter your email address and password (specified when activate accept invitation).
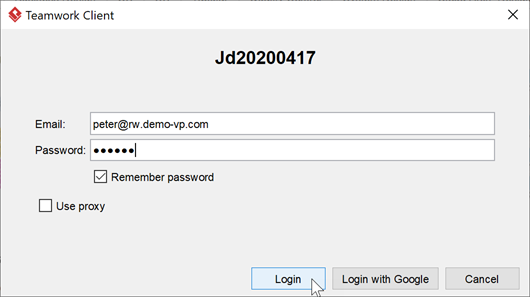
Login to workspace
- Now you can open team collaboration projects which being assigned to you under Project > Open > Visual Paradigm Online.
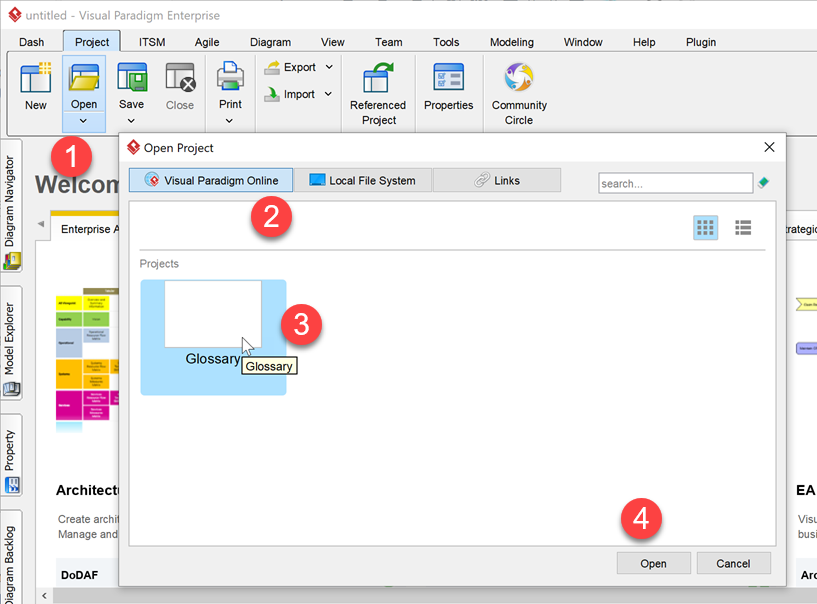
Open project from workspace
- After making modifications you can go to Team > Commit to commit your changes to VP Online. You can also press Team > Update to get the modifications from your teammates.
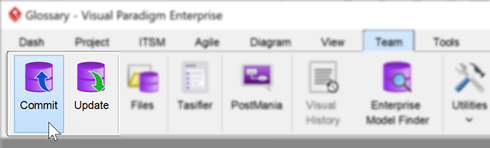
Commit/update project
Leave a Reply
Want to join the discussion?Feel free to contribute!