Group Generalizations with Generalization Set
When working on a use case diagram, you may have a superactor with a few subactors underneath from generalization. For formatting purpose, you may want to group the lines of generalization together for a more organized presentation. This can be done by creating a generalization set.
This article will show you how to group generalizations with an example.
Steps to Create A Generalization Set
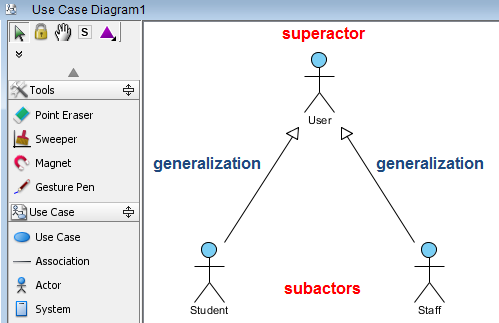
Let’s say we have a superactor called User and two subactors called Student and Staff, respectively.
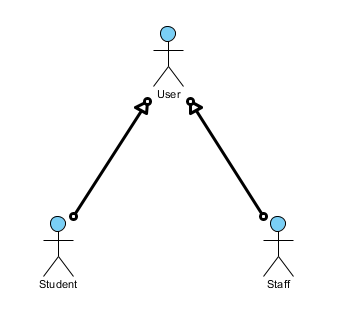
1. Select both lines (generalizations): Press the Ctrl-key. While holding it down, select one line after another.
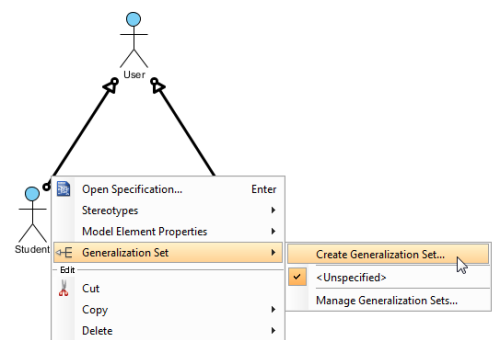
2. With both lines selected, right-click to select Generalization Set > Create Generalization Set…
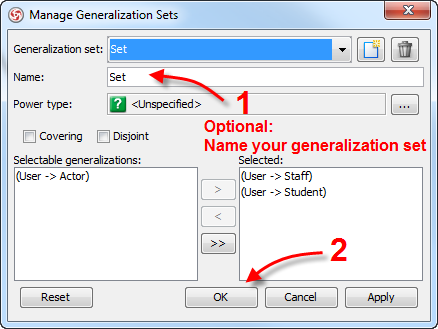
3. Optional: You may name your generalization set in the dialog box (if you wish). Click OK.
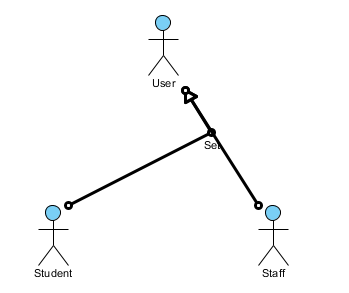
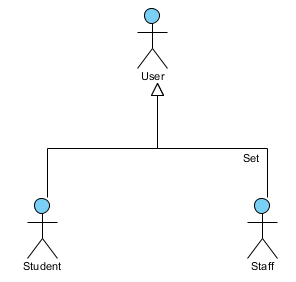
4. You will then see a generalization set as shown below.
5. Rearrange the lines as you wish for a better view.
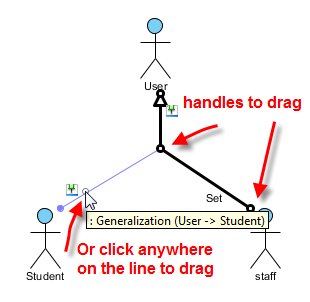
Tips on Rearranging Grouped Lines of Generalization
1. Use handles (indicated by circles on the lines) to drag
2. Add a handle to drag (by clicking anywhere on the line)


Leave a Reply
Want to join the discussion?Feel free to contribute!