

Changing the IDE for your VP IDE Integration
Visual Paradigm not just can run as a standalone modeling software, but also can embedded into your favorite IDE via Visual Paradigm IDE Integration, including Eclipse, NetBeans, IntelliJ IDEA, Android Studio as well as Microsoft Visual Studio. You may need to upgrade your IDE from time to time when it got new release, but sometimes you might not want to directly upgrade your IDE software but prefer to have a clean start with the new version by reinstall it. In this article you will learn how to change your existing VP IDE Integration to your new IDE.
To change the IDE for your integration, first you have to remove the existing integration. You can remove your existing integration by execute the uninstall_xx_integration executable under the uninstaller folder of VP installation directory (the xx is the short name of your IDE, ec = Eclipse, nb = NetBeans, ij = IntelliJ IDEA / Android Studio, and vs = Visual Studio).
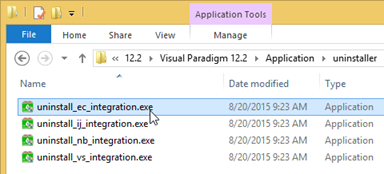
Remove existing integration via the uninstaller
Select Yes when you prompted by the uninstaller.
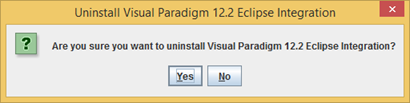
Confirm to remove the integration
A confirmation message will be show once the process is done.
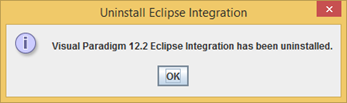
Integration removed
Now you can launch VP to perform the IDE Integration again with the new version of your IDE.
* Please note that all your model information WILL NOT be loss even removing IDE Integration.
Related Know-how |
Related Links |
Leave a Reply
Want to join the discussion?Feel free to contribute!