

How to run VP Server with SSL certificate
 VP Server is a critical component for a team since it serve as both Teamwork Server (on-premises setup of VPository) for team collaboration development, as well as the License Server for floating license environment. Thanks for that VP Server was using a standard Apache Tomcat webserver as its base, you can easily protect the communications with VP Server by configure it to run with your own SSL certificate.
To run VP Server with your SSL certificate
- Download the SSL certificate from your certificate provider. Please make sure you are downloading the certificate for Apache server.
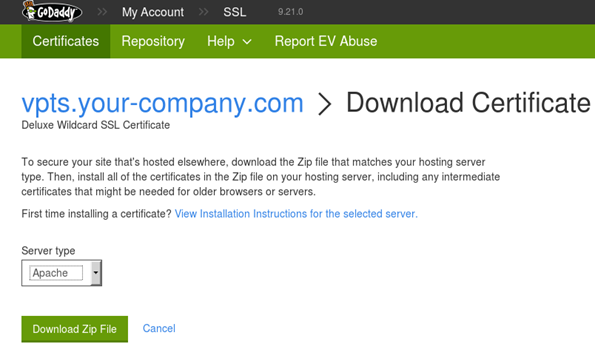
Download certificate from your provider
- Create a folder ssl under VP Server installation directory.
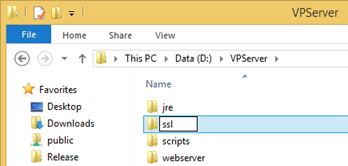
Create ssl folder under VP Server installation directory
- Copy the domain certificate file (%your-domain%.crt) to ssl folder under VP Server. If you are required to run with the intermediate certificate (%sf_intermediate%.crt) then please also copy it to ssl folder.

Copy domain certificate and intermediate certificate (optional) to ssl folder
- Follow the instruction of your certificate provider to generate your local domain key (%your-domain%.key), and copy it to the ssl folder under VP Server.
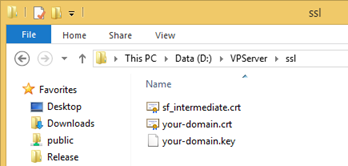
Generate domain key according to the instruction of your service provider, and copy it to ssl folder
- Open %VP Server%/webserver/conf/server.xml with text editor.
- Search out and remove the node <Connector port=”1999″ protocol=”HTTP/1.1″ connectionTimeout=”20000″ redirectPort=”8443″ />

Remove the original connector configuration
- Add the following under <Service name=”Catalina”>
<Connector protocol="org.apache.coyote.http11.Http11AprProtocol"
port="443" maxThreads="200"
scheme="https" secure="true" SSLEnabled="true"
SSLCertificateFile="%path_to_domain_certificate%"
SSLCertificateChainFile="%path_to_ intermediate_certificate%"
SSLCertificateKeyFile="%path_to_domain_key%"
SSLPassword="%your_private_key_password%"
SSLVerifyClient="None" SSLProtocol="TLSv1+TLSv1.1+TLSv1.2"/>
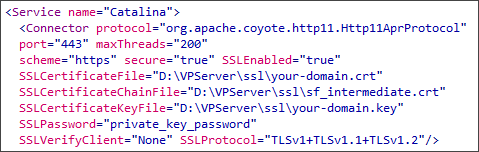
Insert the new connector configuration. Make sure the path to your certificate and key files are correct
After that your VP Server will ready for HTTPS connection with your purchased certificate.
VP Server is now on secure connection
Related Know-how |
Related Links |
Leave a Reply
Want to join the discussion?Feel free to contribute!