Reverse Database without Overwritting Entities
When you reverse database, you will find all existing entities are overwritten in the project. This article is going to teach you how to solve this problem.
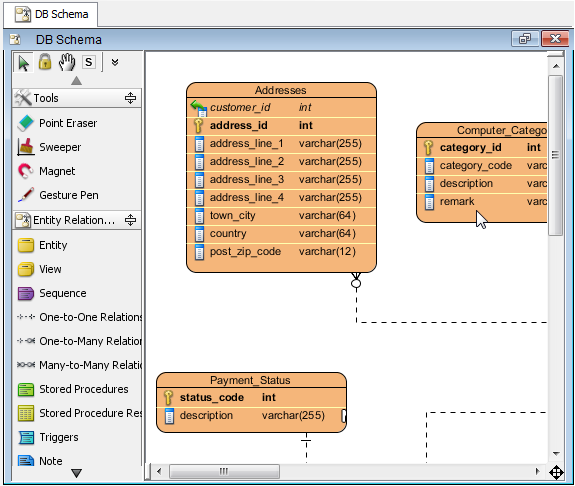
Assume you have DB Schema ERD.
If you don’t want entities are overwritten after reverse database, do as follows:
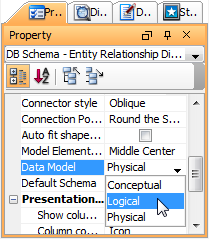
- Make sure that you select the ERD, but not any particular entities. In Property pane, select Logical from the combo box of Data Model.
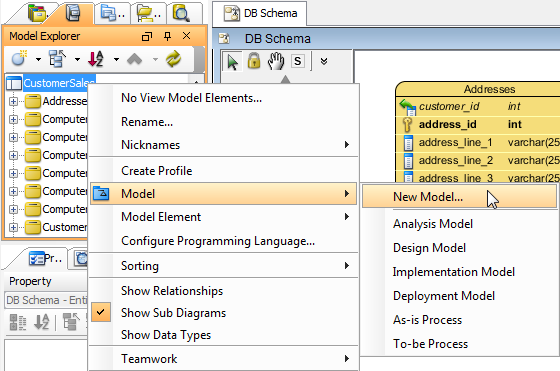
- Next, create a new model under project node. Right click on the project node and select Model > New Model… from the pop-up menu.
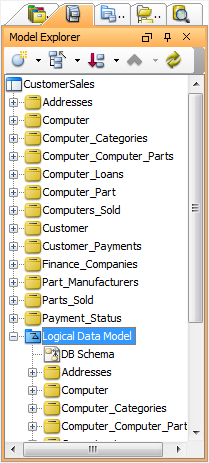
- Name the new model as Logical Data Model.
- You can add DB Schema under Logical Data Model. Right click on Logical Data Model and select Sub Diagrams > Add Existing Diagram… from the pop-up menu.
- In the Add Sub Diagrams window, check DB Schema and then press OK button.
All entities of DB Schema will be put under Logical Data Model automatically.Otherwise, you can assign all entities under Logical Data Model manually.
- Now, you can reverse database to the project. Select Tools > Database > Reverse Database… from the main menu.
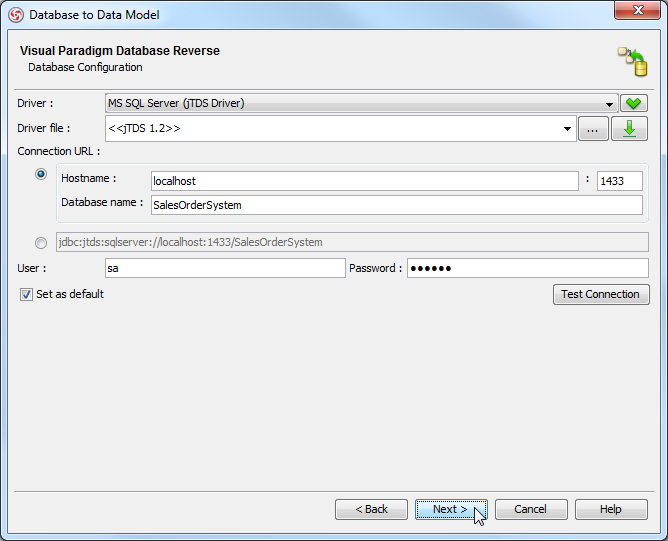
- In the Database to Data Model dialog box, click Next button.
- Specify your user name and password. Click Next button.
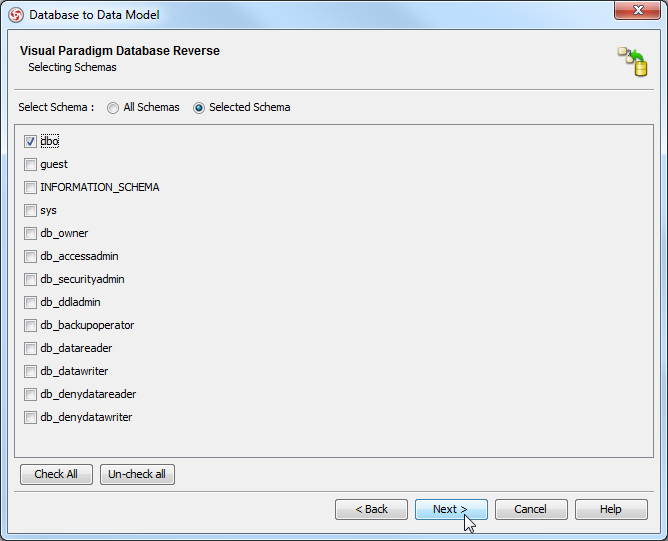
- Select the schema(s) you want to reverse. Click Next button.
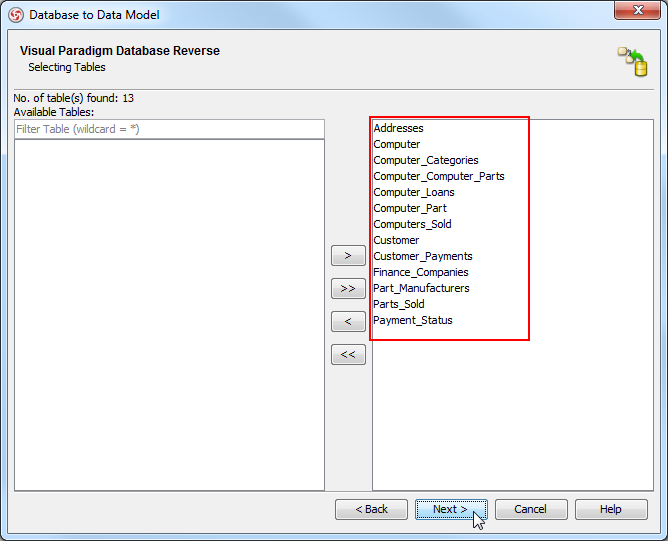
- You can see the selected schema(s) are listed on the right hand side. Click Next button.
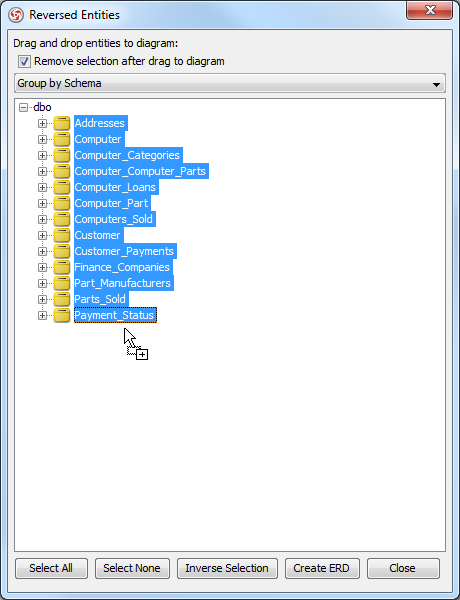
- When the Reverse Entities dialog box prompts out, select and drag them on the diagram. Click Close button.
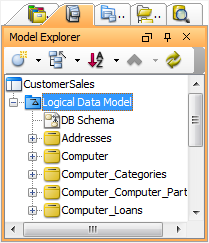
- As a result, reversed entities are listed in Model Explorer.




Leave a Reply
Want to join the discussion?Feel free to contribute!