

Define Centralized Configuration for VP Desktop Client and Rollout via Teamwork Server/VP Online
Starting from version 17.1 administrator can distribute pre-defined application configurations to Visual Paradigm Desktop Client via VP Server or VP Online.
What is Visual Paradigm Desktop Client Configuration Files
Visual Paradigm Desktop Client Configuration Files contain configuration setting for control the behavior of the application. Those configuration are mainly for advance users to fine tune the application to fit for their specific needs. There are two configuration files for Visual Paradigm Desktop Client:
UserSpecific.options
Configuration file for control advance behavior of the application, e.g. maximum number of connectors to be handle by layout engine, default size for BPMN tasks and subprocesses, etc..(Learn More)
vplauncher.vmoptions
Configuration file specific for control Visual Paradigm’s JVM parameter, such as default memory setting, customized certificate keystore, etc…(Learn More)
Ready Configuration Files for Visual Paradigm Desktop Client
Once the configuration files are being defined and tested, administrator can put them to VP Server/VP Online.
- Login to VP Server using “Admin” user, or login to VP Online with the manager account, subject to which repository your team is using.
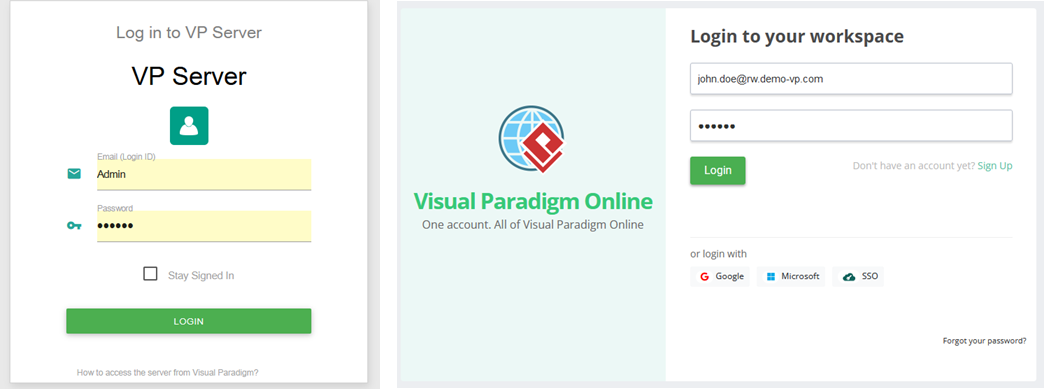
Login to VP Server/VP Online
- (For VP Online only) Click on your avatar at top right and select Administration from popup menu.
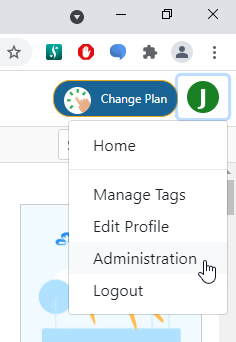
Administrate Workspace
- Go to System Tools > System > Default Client Configuration.
- Upload your customized options file and vplauncher.vmoptions file, and press Apply button to confirm the change. *Please note that it is not necessary to have both being customized. Which file need to be customize are subject to your team’s needs. You can contact Visual Paradigm Support Team for help on this.
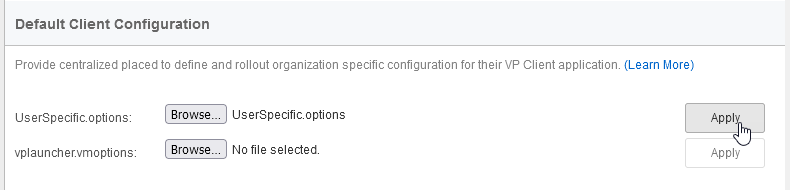
Upload configuration files
- Once the file(s) being uploaded an URL will be show. You can copy this URL and distribute to your team for apply the configuration.

Copy configuration URL and distribute to team
Apply Configuration to Visual Paradigm Desktop Client
Once use obtained the configuration URL from administrator, they can apply it to their VP Desktop Client in the following ways:
For new users (environment haven’t run VP application before)
Users who first time startup Visual Paradigm Desktop Client will receive a prompt dialog for import the configuration. User can simply enter the URL obtained by administrator and press Apply button to import the configuration.
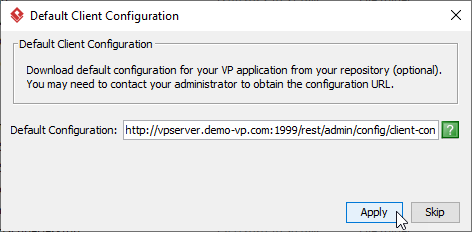
New user import configurations from server on the first start of VP application
For existing users
Existing users can go to Help > About > Utilities > Default Client Configuration to bring the import configuration dialog. By pressing Apply button the application will restart to apply the new configuration.
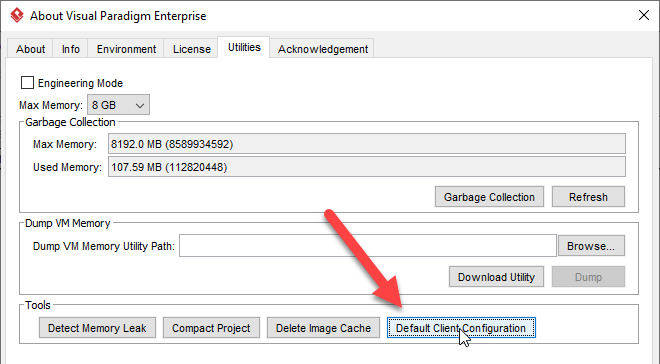
Import configuration through About dialog
Related Know-how |
Leave a Reply
Want to join the discussion?Feel free to contribute!