Round-trip engineering with Eclipse Integration
You can update code and UML model with Eclipse Integration. In this article, you can learn how to update Eclipse in VP-UML and then how to update to UML model from Eclipse.
1. Start VP-UML.
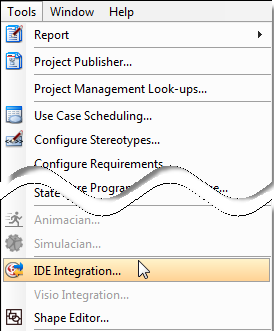
2. In VP-UML, select Tools > IDE Integration from the main menu.
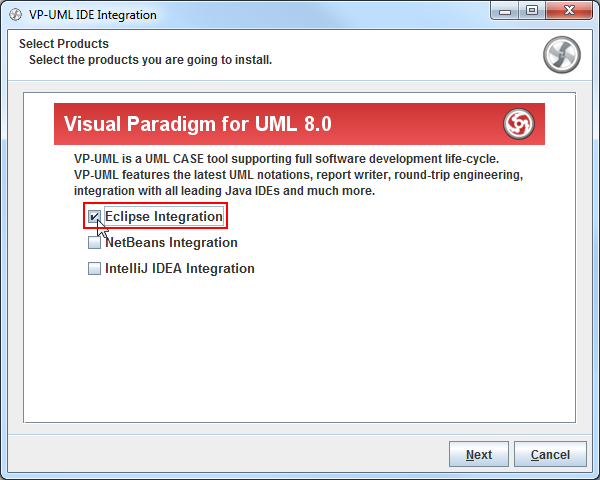
3. In the pop-up VP-UML IDE Integration dialog box, check Eclipse Integration and then click Next button.
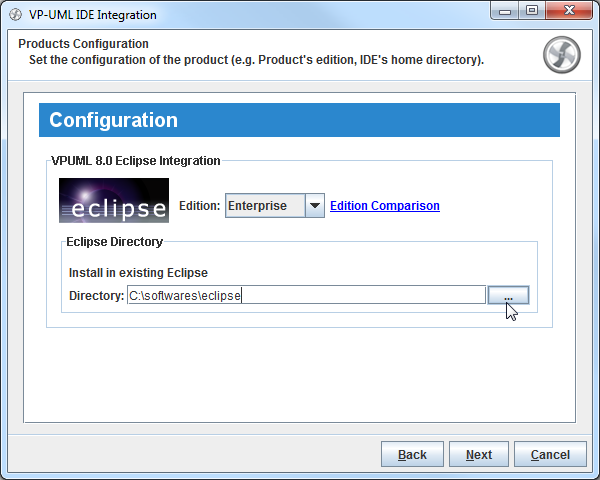
4. Select Eclipse’s directory and then click Next button.
5. After the installation is completed, you can close VP-UML.
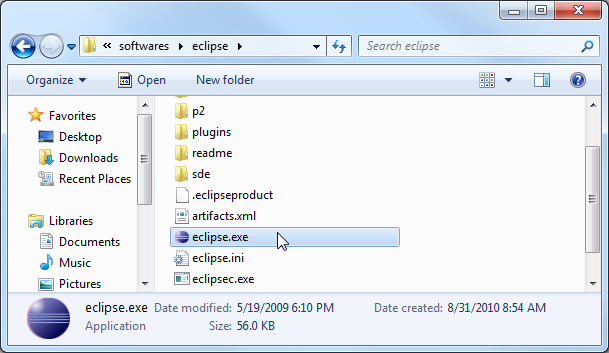
6. Execute Eclipse by double clicking eclipse.exe in Eclipse folder.
7. In Java-Eclipse dialog box, create a new Java project by selecting File > New > Java Project from the main menu.
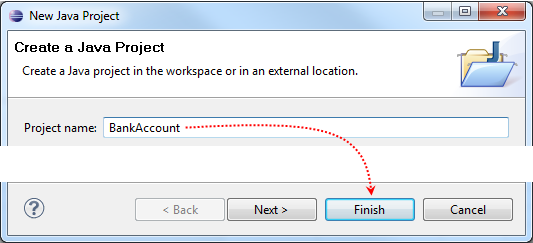
8. When New Java Project dialog box pops out, enter project name as BankAccount. Click Finish button to proceed.
9. To trigger a new VP-UML project, right click on BankAccount project node and select VP-UML > New VP-UML Project from the pop-up menu.
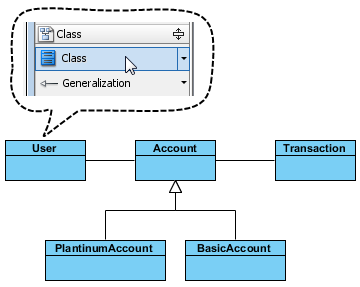
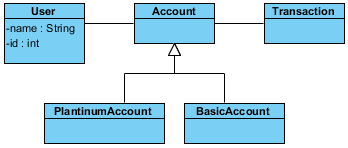
10. Let’s create a class diagram as follows in VP-UML.
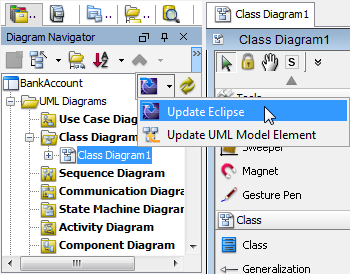
11. Now, synchronize the class diagram to Eclipse. Click Update Eclipse on Diagram Navigator.
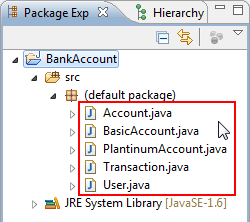
12. Go back to Eclipse. In Package Explorer tab, unfold BankAccount > src and you can find all Java codes under BankAccount project node.
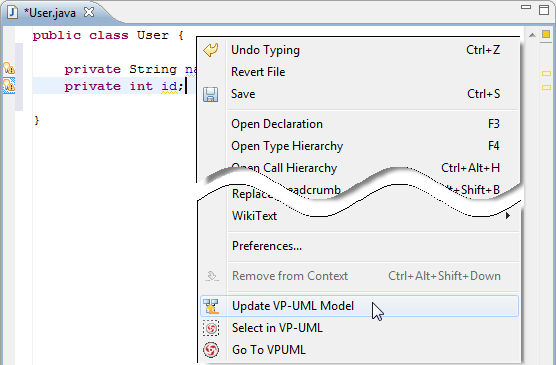
13. Double click User.java to open it on the pane. Let’s edit its code. Add name and id attributes. After that, you can update the changes back to model.
14. Right click on the background of the java code editor and select Update VP-UML Model from the pop-up menu.
15. Finally, the class diagram has been updated. You can see the name and id attributes are created in User class.





Leave a Reply
Want to join the discussion?Feel free to contribute!