

Atlassian Jira Integration
Starting from version 17.3 build 20251021, Visual Paradigm supports integration with Atlassian Jira. This enhancement enables users to create issues and post comments directly to Jira from within Visual Paradigm. In this article, we’ll walk you through the steps to set up and use this integration effectively.
Note: This feature is only available in version 17.3 build 20251021 or later. If you’re using an earlier build of version 17.3, please update your software to access this functionality.
Create API Token
Visual Paradigm relies on an API token to integrate with Confluence. Follow these steps to generate your token:
- Login to your Jira account.
- Click your avatar in the top-right corner and select Account Settings.
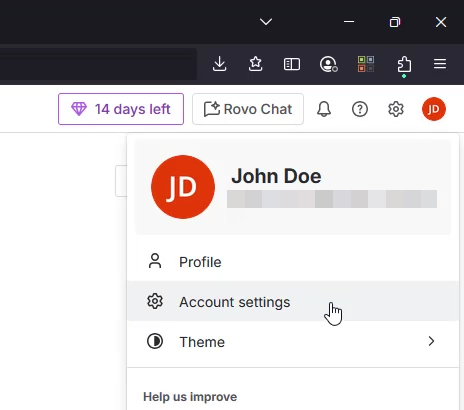
Go to Account Settings in Jira
- Navigate to the Security.
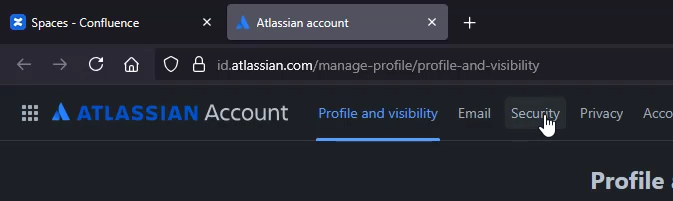
Select Security tab
- Under API tokens, click Create and manage API tokens. You may be prompted to complete a verification step to proceed.
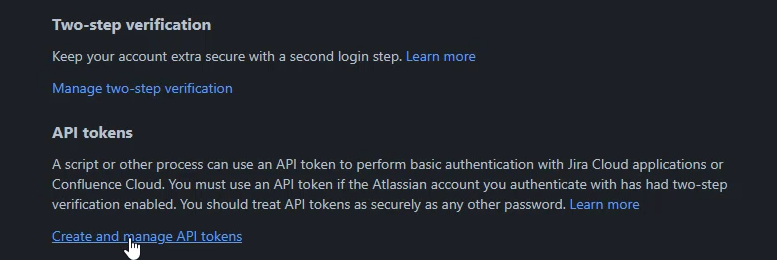
Go to Create and manage API token
- Click Create API token.
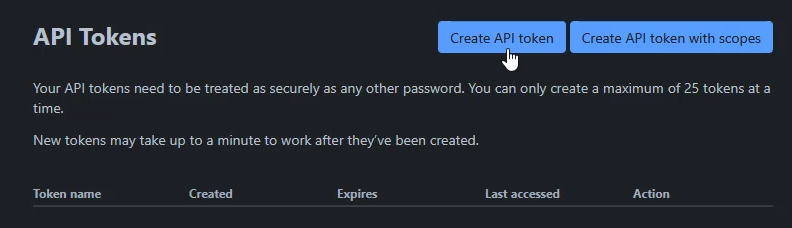
Press Create API token
- Enter a name and set an expiry date for the token, then click Create.
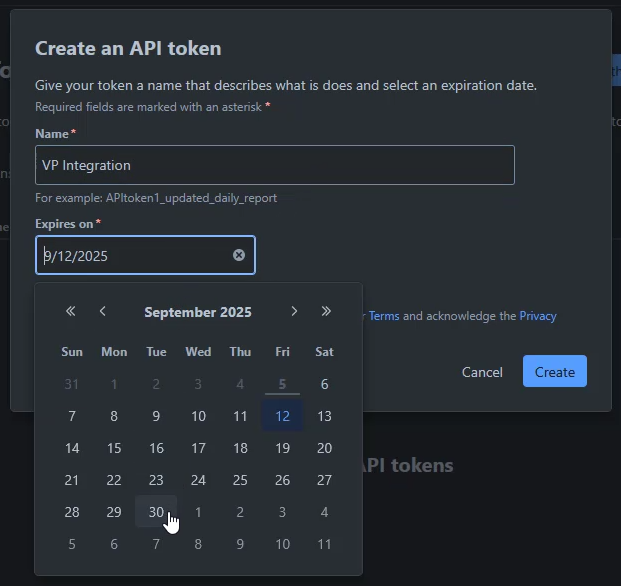
Specify name and expiry date of the token
- Once the token is generated, click Copy to copy it to your clipboard. It’s recommended to store the token securely on your computer for future reference.
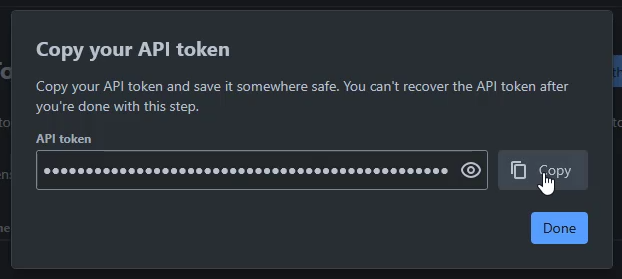
Copy API token to clipboard
After the token is ready, return to the Visual Paradigm desktop application to complete the integration setup.
Setup Integration
You’re now ready to configure the integration between Visual Paradigm and Atlassian Jira. Follow these steps:
- In the Visual Paradigm application, navigate to Windows > Application Options > General > Connection.
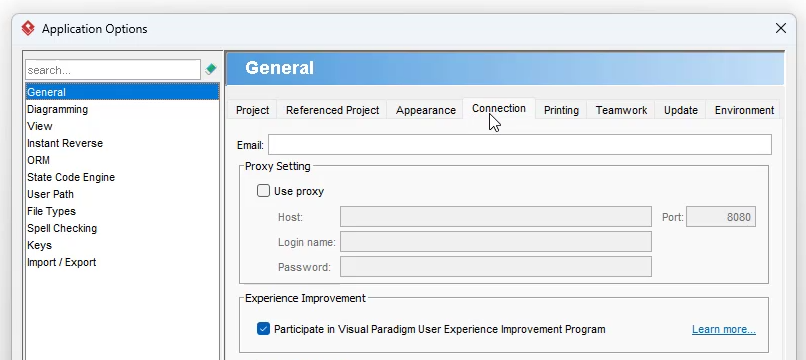
Go to Application Options
- Under Atlassian Integration, enter the following details:
- Your Atlassian Confluence domain
- Your user email address
- Your API token
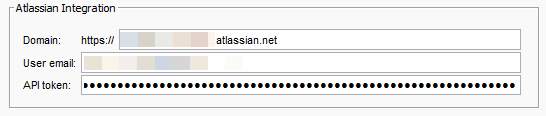
Enter Altassian domain, user email and API token
- Click Apply to save the changes, then click OK to close the dialog.
Once setup is complete, you can start creating Jira issues directly from your diagrams.
Create Jira Issue from Diagram
Once everything is set up, follow these steps to create a Jira issue directly from your diagram:
- Right-click on a blank area of the diagram and select Export > Export to Jira > As New Issue, or go to Project > Export > Active Diagram to Jira > As New Issue.
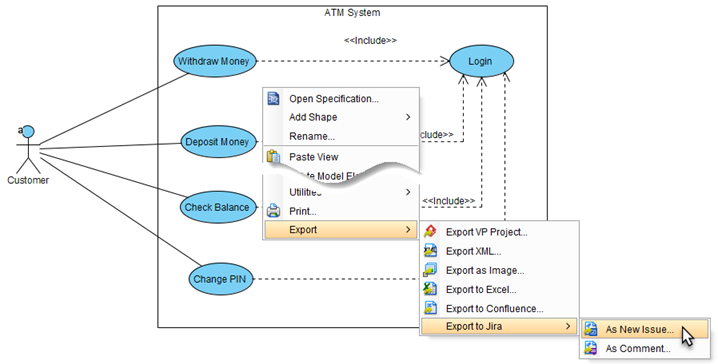
Right click on diagram and export to Jira as new issue
- Choose the target Jira space and fill in the required details, including:
- Issue Type
- Summary
- Description
- Start Date
- Due Date
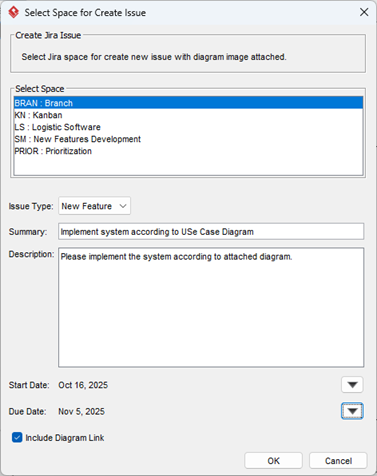
Select Space and specify issue details
- (Optional) Enable Include Diagram Link to attach a reference to the diagram in the Jira issue.
- Click OK to proceed.
- Once the issue is created, a confirmation dialog will appear.
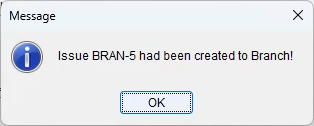
Jira issue being created
You’ll now find the new Jira issue with your diagram attached.
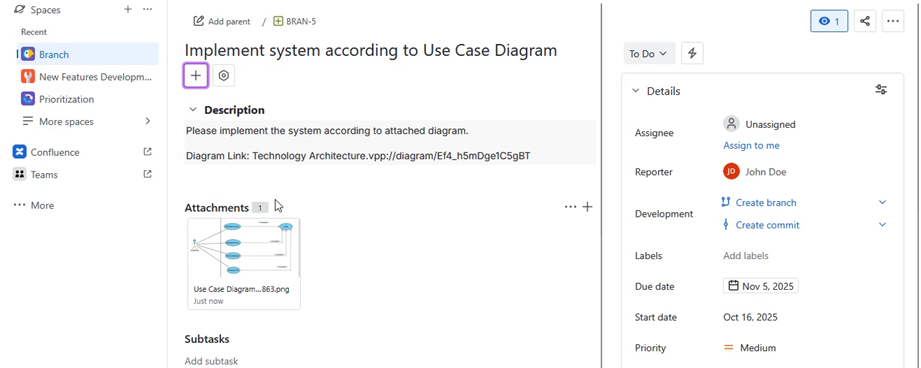
Jira issue created with diagram as attachment
Post Comment to Jira issue from Diagram
To add a diagram as a comment to an existing Jira issue, follow these steps:
- Right-click on a blank area of the diagram and choose Export > Export to Jira > As Comment, or go to Project > Export > Active Diagram to Jira > As Comment.
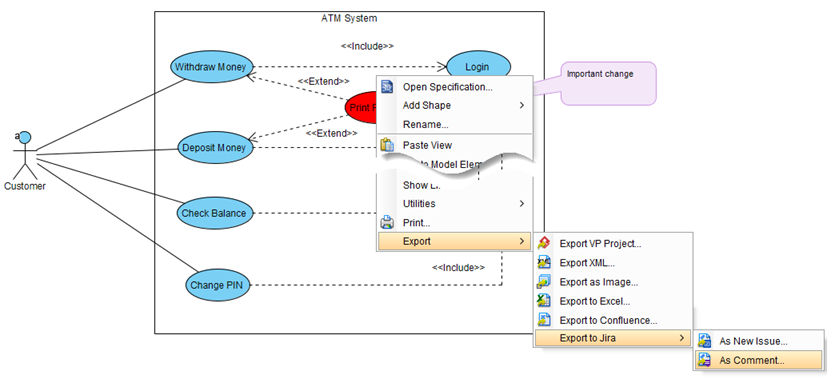
Right click on diagram and export to Jira as comment
- Select the target Jira space and the specific issue you want to comment on, and enter your comment in the provided field and click OK to proceed.
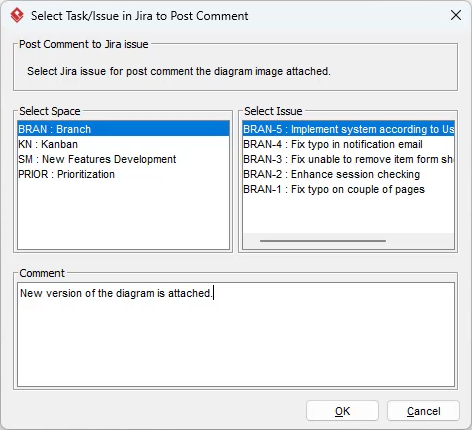
Select Issue and enter comment details
- A confirmation dialog will appear once the comment has been successfully posted.
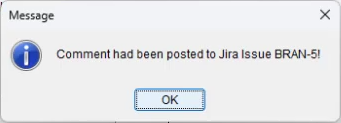
Message dialog let you know the comment being posted
Your diagram will now appear as part of the comment in the selected Jira issue.
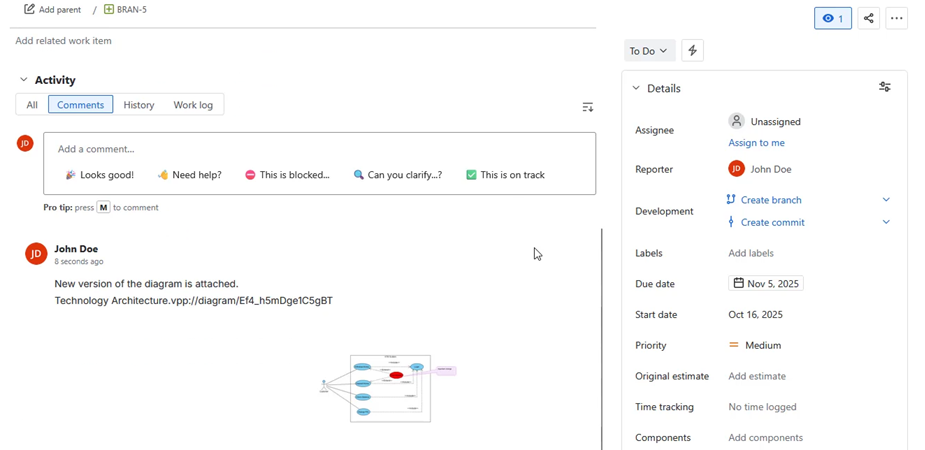
Comment with diagram as attachment posted to Jira issue
Related Know-how |
Related Links |
Leave a Reply
Want to join the discussion?Feel free to contribute!