

How to Configure VP Online perform authentication with Microsoft Azure
VP Online provides a web based platform for perform various modeling and diagraming work. For team users they can configure VP Online to perform user authentication with Microsoft Azure. In this article we will show you how to configure VP Online and Azure to perform user authentication.
To configure VP Online perform authentication with Microsoft Azure:
- Login to VP Online.
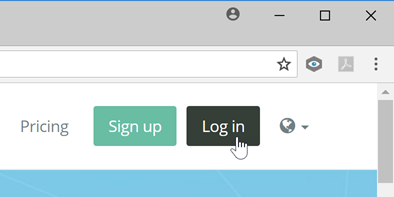
Login to VP Online workspace
- Select Administration under your name.
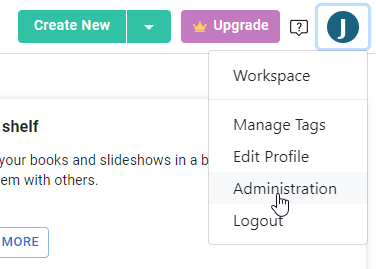
Open Administration Panel
- Select System Tools > Single Sign-On.
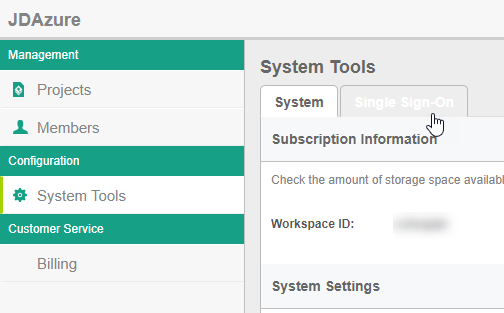
Select Single Sign-On
- Enter name of your Single Sign-On service under Identity Provider (IDP) Name.
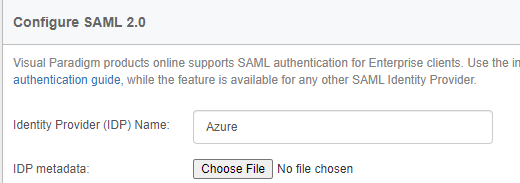
Specify service name
- Login to your Azure account.
- Select Enterprise application.

Select Enterprise Application
- Press New application button.
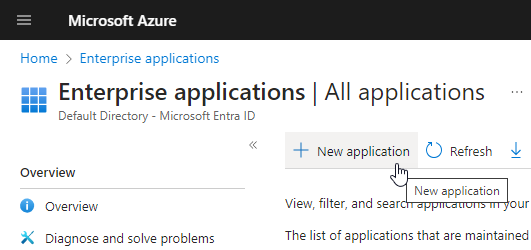
Create new application
- Search out the Visual Paradigm Online application and create it to your enterprise application.

Add Visual Paradigm Online application
- Select Single sign-on under Visual Paradigm Online application.
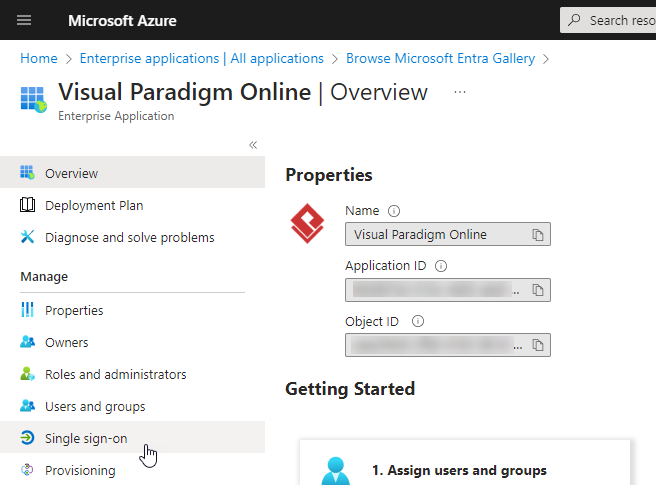
Select Single Sign-On
- Choose SAML as single sign-on method.
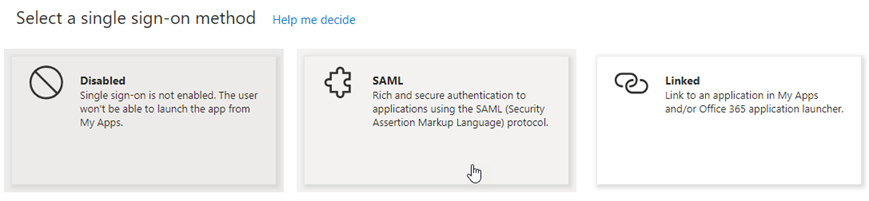
Select SAML as signle sign-on method
- Press Edit button on Basic SAML Configuration.
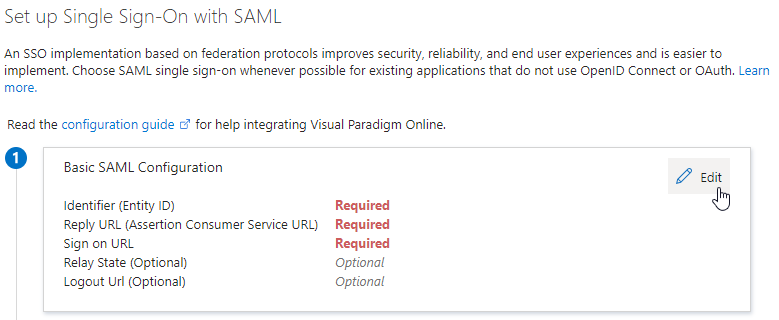
Edit SAML Configuration
- Copy the Audience URI (SP Entity ID) form VP Online to Identifier (Entity ID), and create Reply URL by copy the Single Sign-on (ACS) URL. After that copy the patterns in Sign on URL to actual property. Press Save button to save the change.
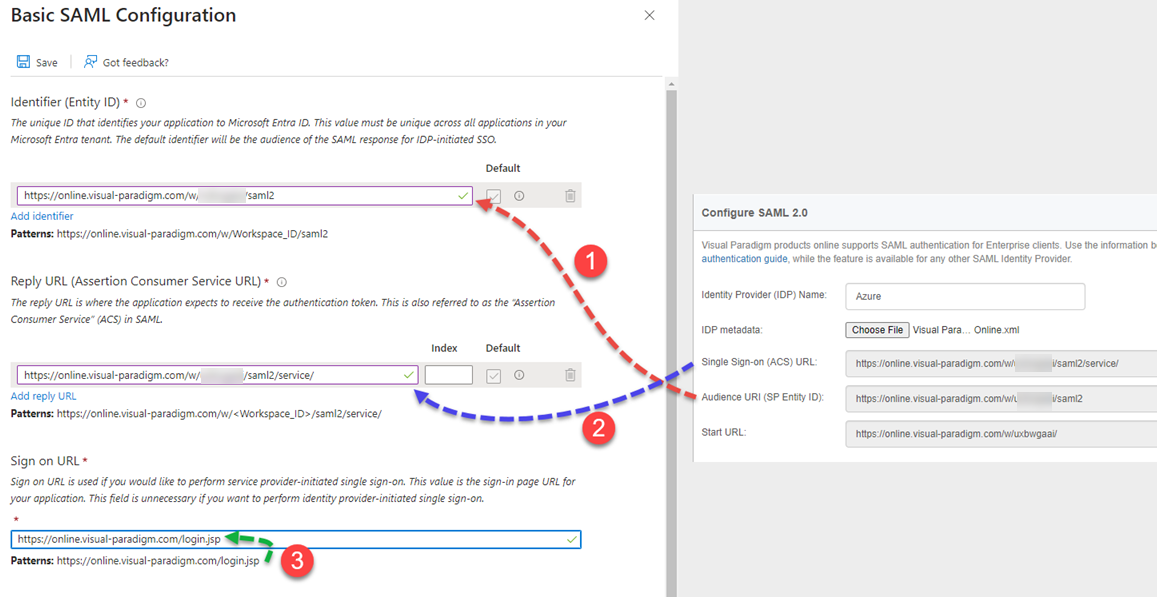
Configure SAML URLs
- Download the Federation Metadata XML.
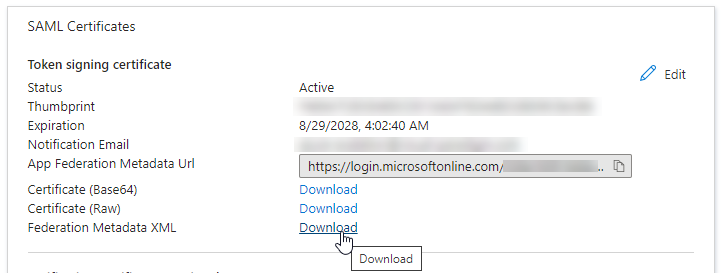
Download Federation Metadata XML
- Go to Properties of the application, and change Assignment required to No. After that Save the change.
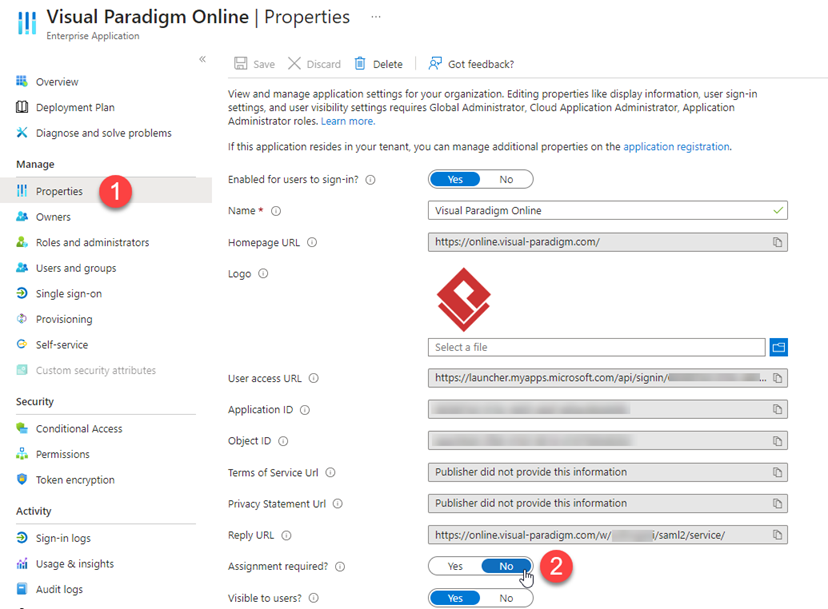
Set Assignment required to No
- Go back to VP Online and upload the FEDERATION METADATA DOCUMENT to the IDP metadata. Press Apply button to proceed.
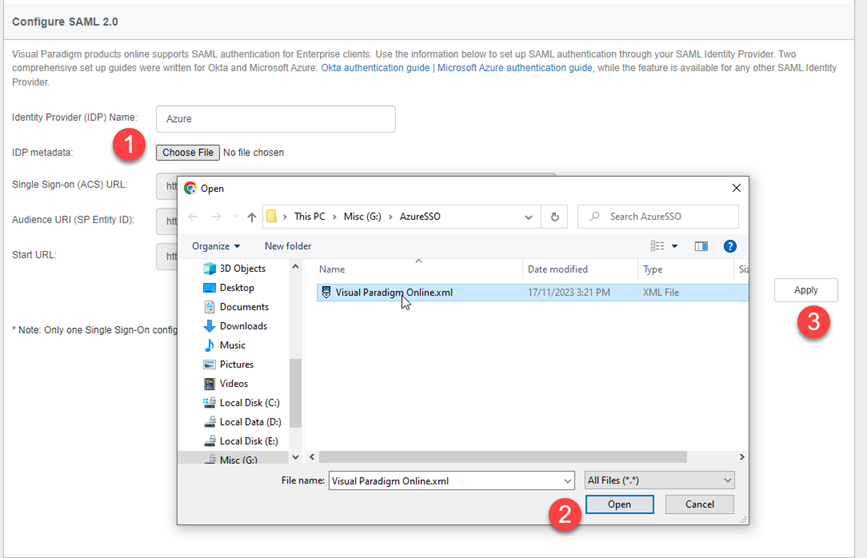
Upload metadata XML and apply the change
- Press OK on the confirmation dialog.
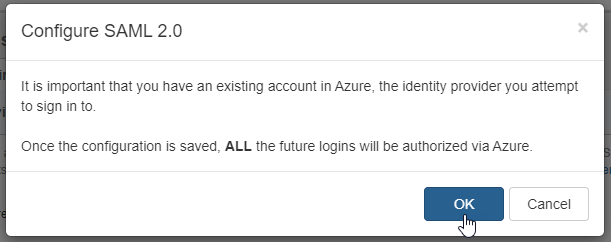
Confirm apply SAML configuration
- Now you will being logged out and redirect to perform a re-login using your Azure account. Or if your browser already logged in to Azure then integration will being applied. The Azure account perform the login will become the administrator of your VP Online.
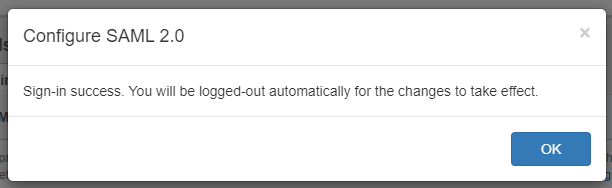
Integration success
You can then start invite other members to join in.
Related Know-how |
Related Link |
Leave a Reply
Want to join the discussion?Feel free to contribute!