

Configure VP Server to perform user authentication with Kerberos
 Starting from version 16.0 Visual Paradigm’s on-premises Teamwork Server and VP Online support user authentication with Kerberos. This article explains how to configure your Teamwork Server/VP Online for Kerberos authentication.
Step 1 – Download DS Connector
- Login to your VP Server / VP Online as administrator.
- For VP Online press on your name at the top right and select Administration.
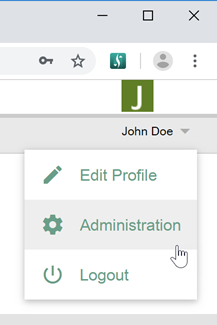
Select Administration
- For VP Online press on your name at the top right and select Administration.
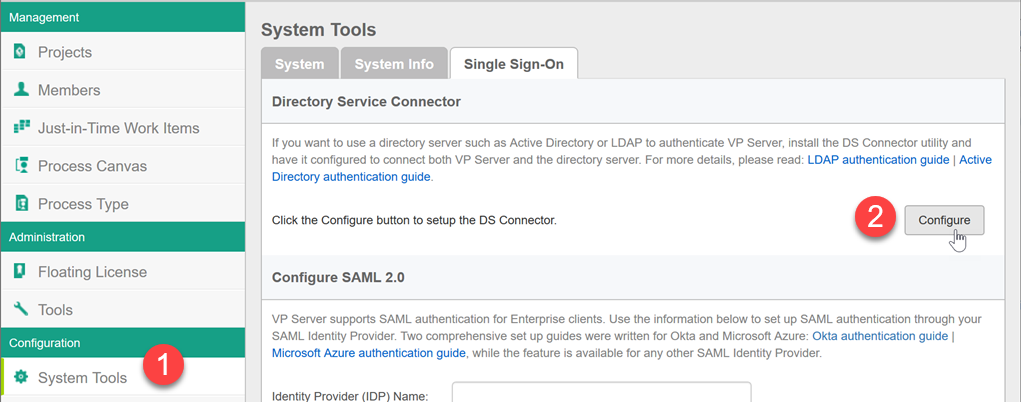
- Go to System Tools > Single Sign-On.
- Press Configure button under Directory Service Connector.
Configure DS Connector
- Select your platform to download the DS Connector package.
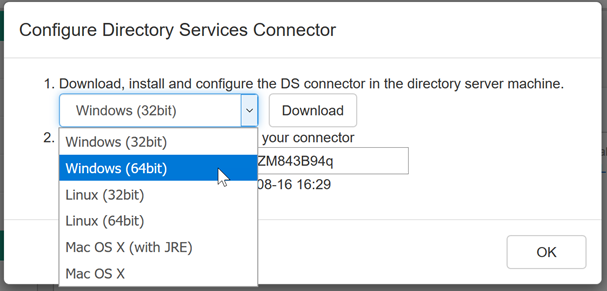
Download DS Connector
- Unzip the downloaded DS Connector package.
Step 2 – Configure DS Connector for Kerberos
- Download the jaas.conf and krb5.conf file.
- If you want to use keytab file for authentication
- Generate your keytab file (please refer to XX about how to generate keytab file)
- Add keyTab setting in jaas.conf (download jaas.conf for keytab example)
- useKeyTab=true
- storeKey=true
- keyTab=%path_to_your_keytab_file%
- principal=%your_principal%
- Modify the krb5.conf with your realm, domain and kdc.
- Copy the two files to the root folder of DS Connector installation directory.
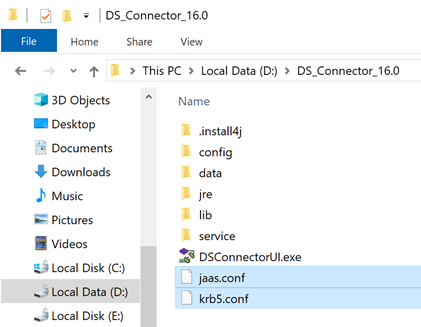
Copy config files to DS Connector
Step 3 – Startup DS Connector (For MS Windows)
- Run Command Prompt as administrator.

Run command prompt as administrator
- Navigate to service folder of DS Connector (using CD command)
- Execute install_service.bat.
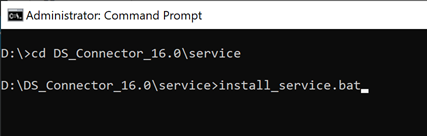
Execute install service script
Step 4- Connect everything together
- Execute DSConnectorUI binary under DS Connector installation directory.
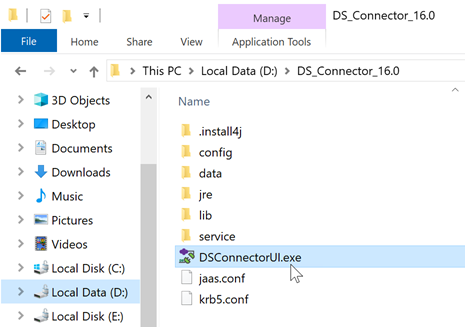
Run DS Connector UI
- The first time starting DSConnectorUI will prompt you for the connection to your VP Server / VP Online. Select your connection type to specify the connection.
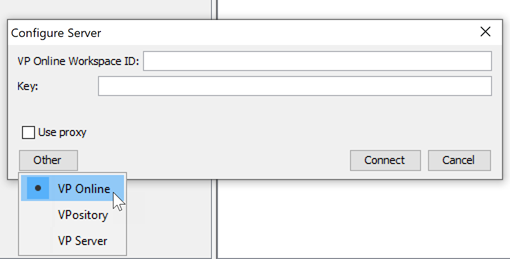
Configure server connection
- Copy the connection key from VP Server/VP Online and paste to DS Connector and press the Connect button to establish connection between DS Connector and your VP Server/VP Online.
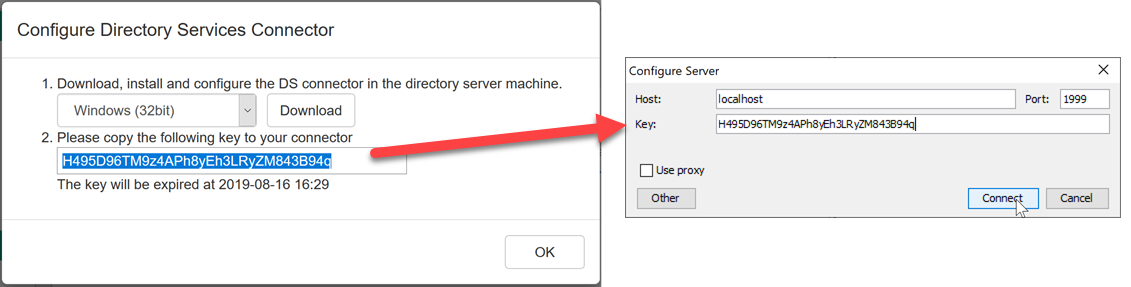
Copy connection key to DS Connector
- Once connected, press the Add Directory Server button to configure the connection with your directory server.

Add directory server
- If you configured to use keytab file then you can enter dummy value to Bind DN or User as well as the Password field empty. Those values will be skipped and retrieve from your keytab file when establish connection.
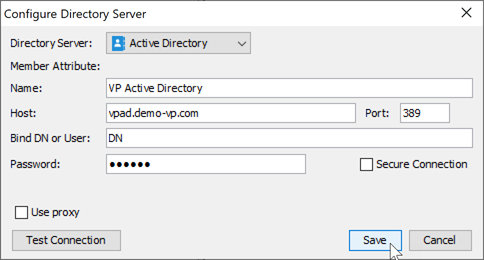
Connect to Active Directory
- Press Save button to save the change and establish connection.
- Now select the directory server on the list and press the Add button on the right hand side to import the users to VP Server / VP Online. The imported user will then appear on VP Server / VP Online and they will authenticate via your directory server using Kerberos when they login from VP Client or web interface.
Leave a Reply
Want to join the discussion?Feel free to contribute!