How to Upgrade Visual Paradigm (With Floating License) and Teamwork Server to New Version
 From time to time, Visual Paradigm releases new version of Visual Paradigm and Teamwork Server which covers bunch of new features and enhancements. Thanks to the maintenance contract system, you can upgrade to new version without extra cost as long as your license is covered with maintenance contract. This article will teach you how to upgrade your Visual Paradigm in floating license as well as the Teamwork Server to new version.
Knowing which type of license you are using
If you are not sure you are running the single seat license, floating license or a subscription license, you can follow the article Find out the Type of Visual Paradigm License You Are Using to find out which type of license you are using.
If you are using Visual Paradigm with single seat license, then please follow the procedures at How to Upgrade Visual Paradigm (With Single Seat License) and Teamwork Server to New Version to perform the upgrade.
For the server, if you are not sure you are using Teamwork Server, VPository or other version servers, you can follow the article Find out the Type of Version Server You Are Using to find out which type of server you are using.
If you are using VPository then please follow the procedures at How to upgrade Visual Paradigm (With Floating License) to New Version to perform the upgrade.
Before we start
The upgrade process involves 5 steps, they are:
- Ready the files you need for the upgrade
- Backup the VP Server
- Upgrade the VP Server to new version
- Upgrade Visual Paradigm to new version
To avoid missing out any steps throughout the upgrade process, please download the following checklist and use it during your upgrade process.
Checklist for upgrade Visual Paradigm in floating license and Teamwork Server (MS Word)
Checklist for upgrade Visual Paradigm in floating license and Teamwork Server (PDF)
Now, let’s start the upgrade by downloading the files you need.
1. Ready the files you need
The following files have to be readied before upgrading your Visual Paradigm and Teamwork Server. They are:
- The Teamwork Server license key for the new version
- The floating license key for the new version
- The WebApp package of the new version Teamwork Server
Download the new Teamwork Server license key file and Floating license key file
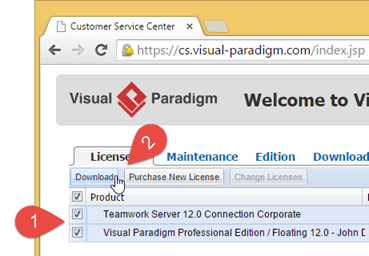
You can login to your Customer Service Center account to download the new Teamwork Server license key file and floating license key file. Once you have logged in to your Customer Service Center account, you can select the Teamwork Server license and press the Download button to download it.
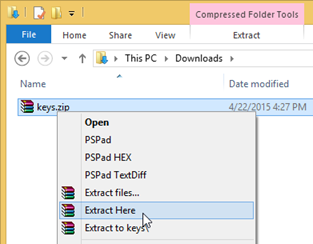
The license keys will be packed as a zip. Please extract the keys form the zip to get ready for the upgrade.
Download the WebApp package of the new version Teamwork Server
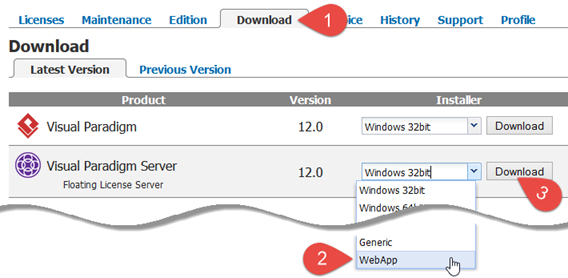
Now, switch to the Download tab in your Customer Service Center account. Select WebApp in the Installer combo box of Visual Paradigm Server and press the Download button to download it.
2. Backup your existing server
To protect you from losing your valuable works, you are recommended to backup the server from time-to-time. Doing backup before upgrade is significantly important since it can create a clean snapshot of your projects as all users had committed their works. This is very helpful in case you need to rollback the environment after the upgrade. To backup your server, please refer to the page How to backup VP Server Repository.
After backup your existing server, you are ready to proceed to upgrade the server.
3. Upgrade your VP Server
Upgrade the VP server is extremely easy and can be done in few clicks.
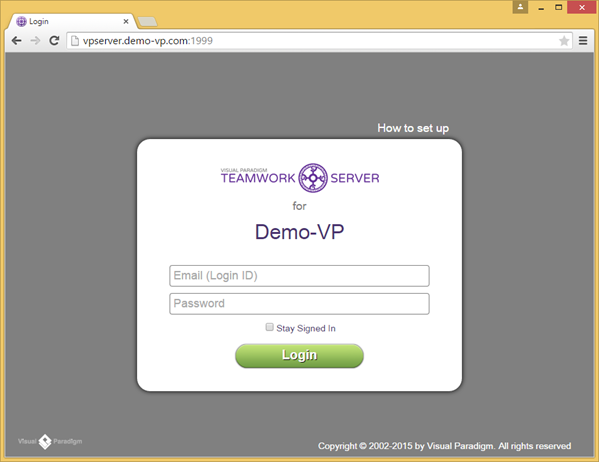
- First, open the browser and go to your license server.
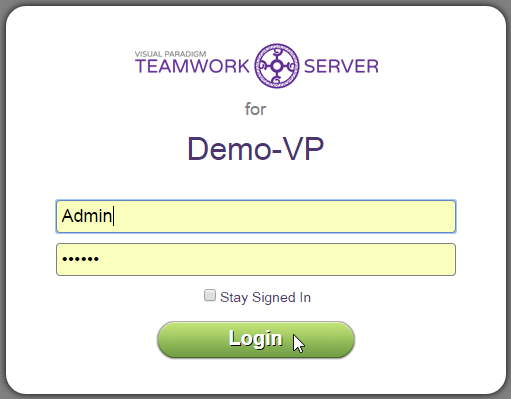
- Login to the server as the administrator with login name “Admin“.
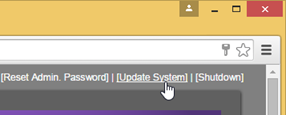
- Once you are logged in, select the Update System from the top right hand corner of the admin portal.
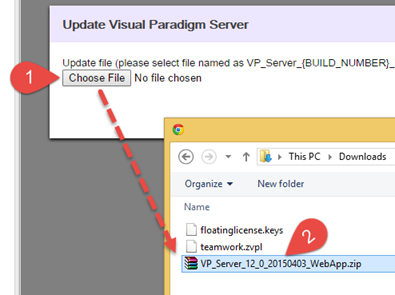
- Click the Choose File button to locate the WebApp package you downloaded previously.
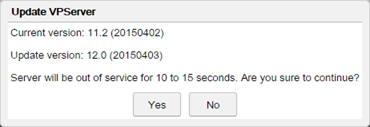
- Upon the upload is done, the server will list out the version and build number of your current running server, as well as the version and the build number you are going to update. The server will be out of service for about 10 – 15 seconds by pressing Yes button to proceed to the upgrade.
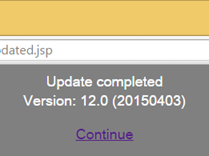
- Once the upgrade is done the server will show up its new version and build number. Click Continue to go back to the login page.
- Login to server as administrator again.
- Select the Teamwork Module, and you will be prompted you don’t have license for the new version. Click OK to close the dialog.
- To import the new Teamwork Server license key, click on the Upload key.
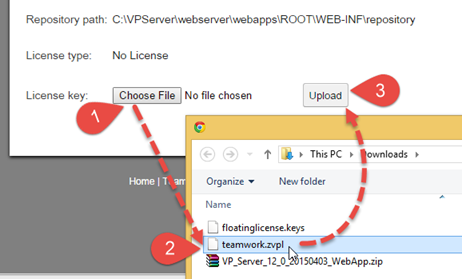
- Press the Choose File button to open the file chooser and locate new version Teamwork Server license key you downloaded previously, and press the Upload button to proceed.
- Once the key is uploaded, the License Status of the Teamwork Server will be updated.
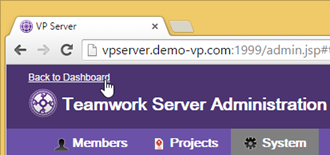
- Go Back to Dashboard.
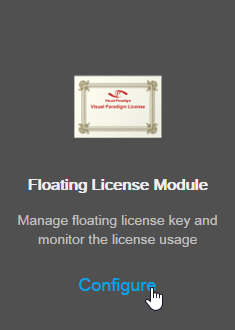
- Click the Configure under Floating License Module.
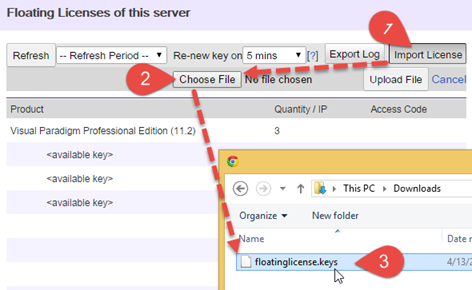
- You will see it is still with your existing floating license key. Press the Import License button, and then press the Choose File button to locate the new floating license key you have downloaded.
- Press the Upload File button to proceed.
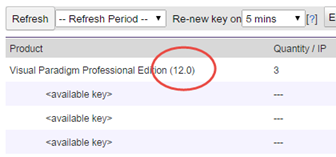
- After that you will see the license on server is being upgraded.
Now, your server is ready and we can move on to upgrade the Visual Paradigm.
4. Upgrade your Visual Paradigm
Upgrade Visual Paradigm to new version is pretty simple and you can simply run the Visual Paradigm Update to get it done.
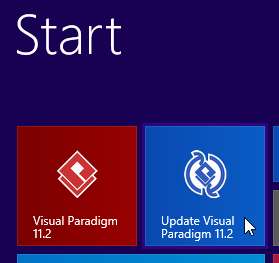
- The Visual Paradigm Update can be launched from your Start menu (MS Windows) or from the bin folder of the installation directory (all platforms).
Note that the upgrade process requires write permission to the Visual Paradigm installation directory. For Windows user, you are recommended to run Visual Paradigm Update as administrator in order to obtain the required permission. This can be done by right click on the icon and select Run as administrator.
For Mac user Visual Paradigm Update can launch under Help > Update in application toolbar.
- After launching the Visual Paradigm Update, select Visual Paradigm update server as the update source, then press Check Updates to proceed.
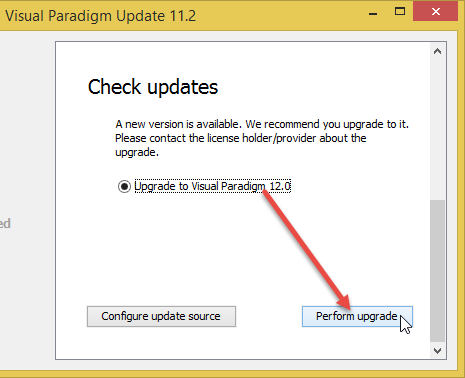
- The Visual Paradigm Update first upgrades and restarts itself and then the build number of the latest release will be shown. You can press the Perform upgrade button again to continue.
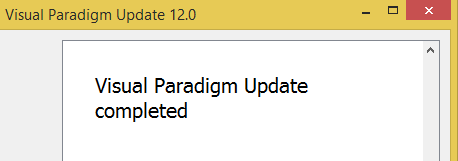
- After that, the Visual Paradigm Update will download the upgrade from Internet to upgrade the software and at the same time, download and import the new license key for you. Once the upgrade is finished, your software and license will be readied to use in new version.
Common Problems
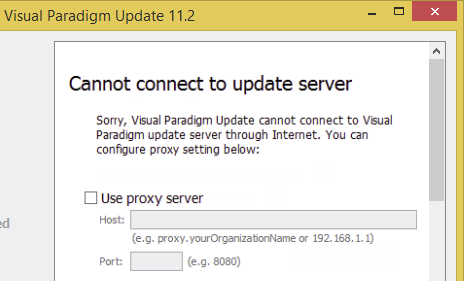
Visual Paradigm Update says it cannot connect to update server
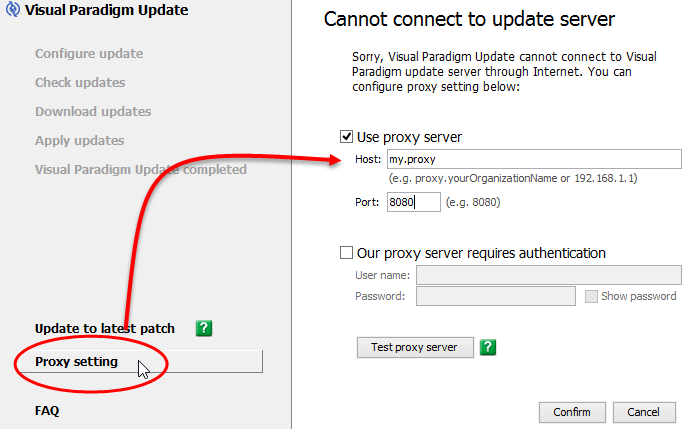
This is probably caused by a bad Internet connection or your system needs proxy server for accessing Internet. If you need to use proxy server to access for Internet, you can then check the Use proxy server check box and fill in the proxy host and port as well as your login information (if needed).
You can also press the Proxy Setting button at the bottom left corner of Visual Paradigm Update to configure the proxy server before proceed to upgrade.
Visual Paradigm Update doesn’t show there is a new version available
For users who are using Visual Paradigm prior to version 10.2 may need to run the Visual Paradigm Update twice in order to do the complete upgrade. The first run will be updating the software to latest build on the current running version, while the second run will upgrade to latest version.
Related Know-how |
Related Links |







Leave a Reply
Want to join the discussion?Feel free to contribute!