

Mass Project Migration from Old to New version
 When Visual Paradigm release a new new version, it comes with many new and enhanced features. In order for a project file created in an old version to work smoothly in new version, it has to undergo a conversion process, which involve the checking and patching of project data. The conversion process is a one-off procedure done when you first open the project in new version. It may take a while to complete. So you can imagine if you are working as a team and your team have many, many projects, conversion can be a fairly daunting task.
For this reason, Visual Paradigm introduced the mass project migration feature. It helps you convert a group of projects from old version to new version at the same time, and eventually have them committed to the server automatically. With this, you can assign one team member to execute the mass project migration. And when the migration is complete, ask the rest of the team re-checkout the projects from server. Since the projects have been converted, team members can directly open the project without having to wait for any project conversion, which saves a great deal of time.
Notice that the technique described in this article applies to any users who use Visual Paradigm’s client products (VP-UML/Agilian/Lorigizn) with any kind of supported concurrent versioning system (VP Server, SVN, CVS, Perforce, ClearCase).
Mass Project Migration
- Start the application in new version.
- If it automatically opens a project file, close it WITHOUT saving. This is because when you open a project, it will be converted to new version automatically. And you won’t be able to include the project file in mass migration. (You can migrate it manually it though)
- Select Tools > Application Options from the main menu.
- In the Application Options window, open the General > Environment page.
- Check Advanced UI mode and click OK to confirm.
- Restart the application.
- Checkout from server the projects you need to migrate. Notice that you should not open any of them.
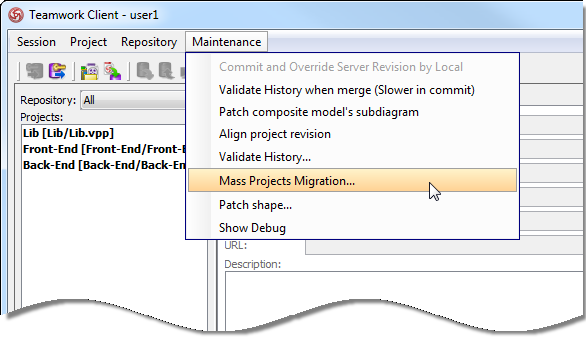
- Select Teamwork > Open Teamwork Client… from the main menu.
- In the Teamwork Client window, select Maintenance > Mass Projects Migration… from the menu.
Perform mass projects migration
- The projects you checked out are listed in the Mass Project Migration window. Select the project(s) you want to migrate. If you want to migrate them all, click Select All at bottom right.

Select projects to migrate
- As described in the migration window, migration can be time consuming (depending on the projects scale and their history). For this reason, perform a trial run first to ensure those projects can be converted to new version. Trial run differs with real migration in that it tries to convert your projects to new version but without committing them to server afterwards. Click Trial Run at the bottom.
- If success, you can proceed with real migration. Click Migrate. Please be reminded that migration may take a long time to complete (over hours). Please reserve sufficient time to perform this operation.

Undergoing migration
- If success, it means that those selected projects have been successfully converted to new version and committed to server. So you can ask your colleagues to checkout the projects from server now. By doing so they will be getting the project files in new version.
Related Articles
- How to Share Report Composer Templates Effectively with VP Teamwork Server
- Revert local change to server latest change
Leave a Reply
Want to join the discussion?Feel free to contribute!